Converting My Nvidia Shield TV to USB PD for 12 volt use.
The Nvidia shield is a fantastic media consumption device. It supports every streaming platform, performs well, has a simple user interface and can even do a decent job at emulating games console for casual gamming. For these reasons it’s been my go to device to travel with for watching TV and movies in hotels when I travel.
When I got a camper van in 2019 I needed a way to take the shield TV with me. Running an inverter was an option but my camper’s 1600VA inverter isn’t very efficient when running just a 15 Watt load so I was looking for a better solution.
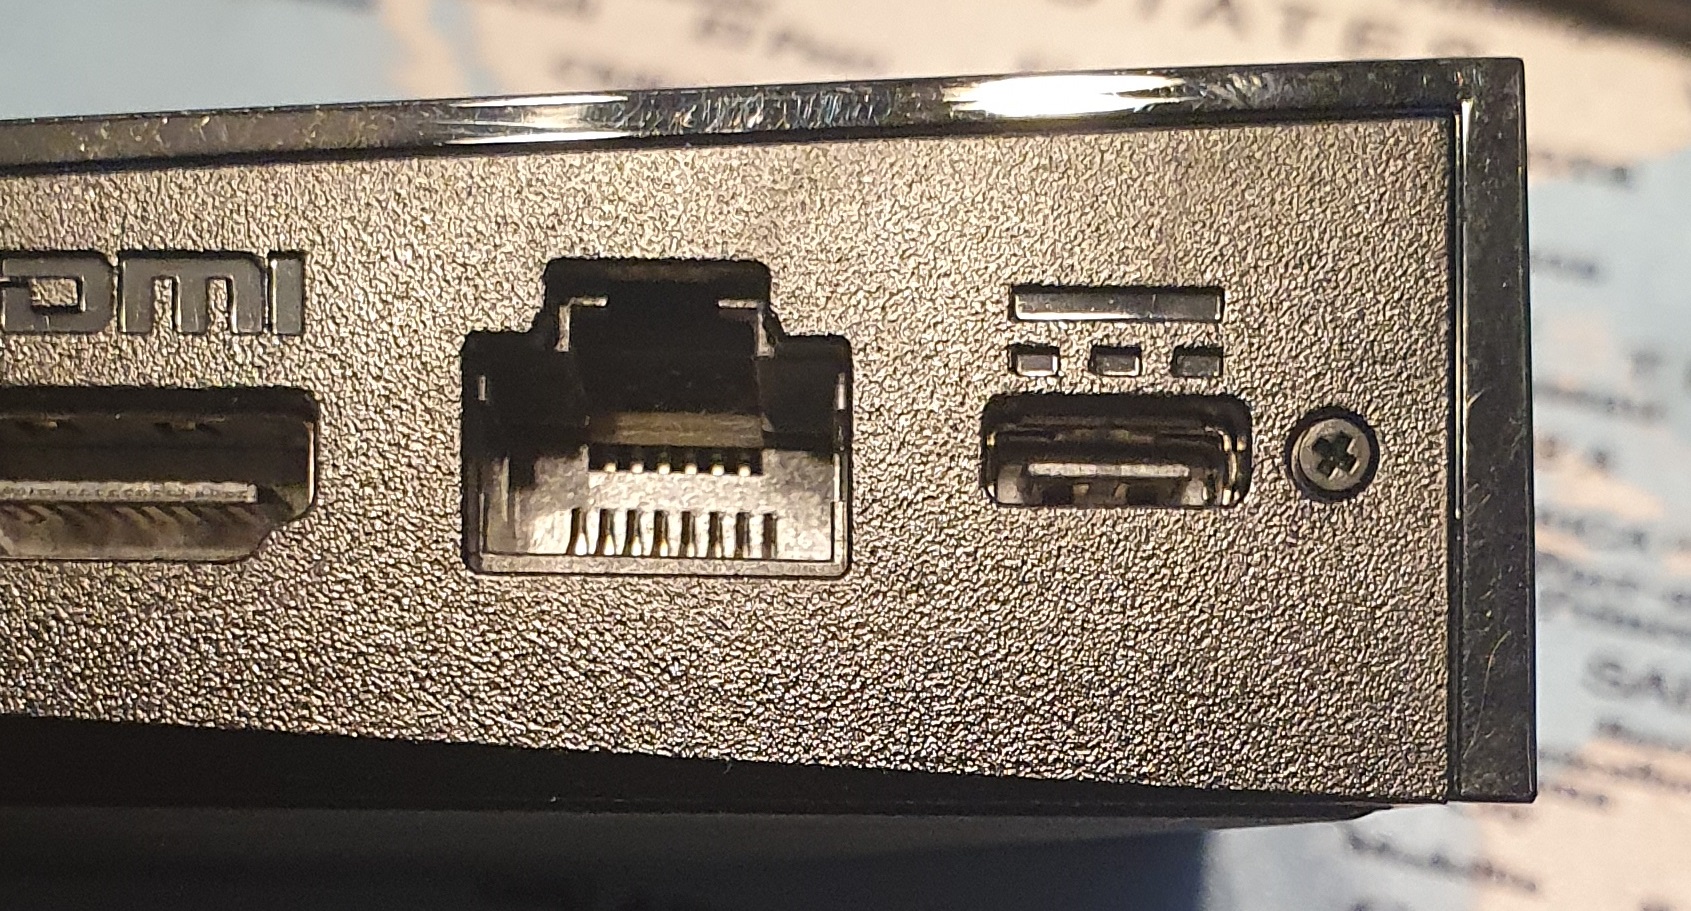
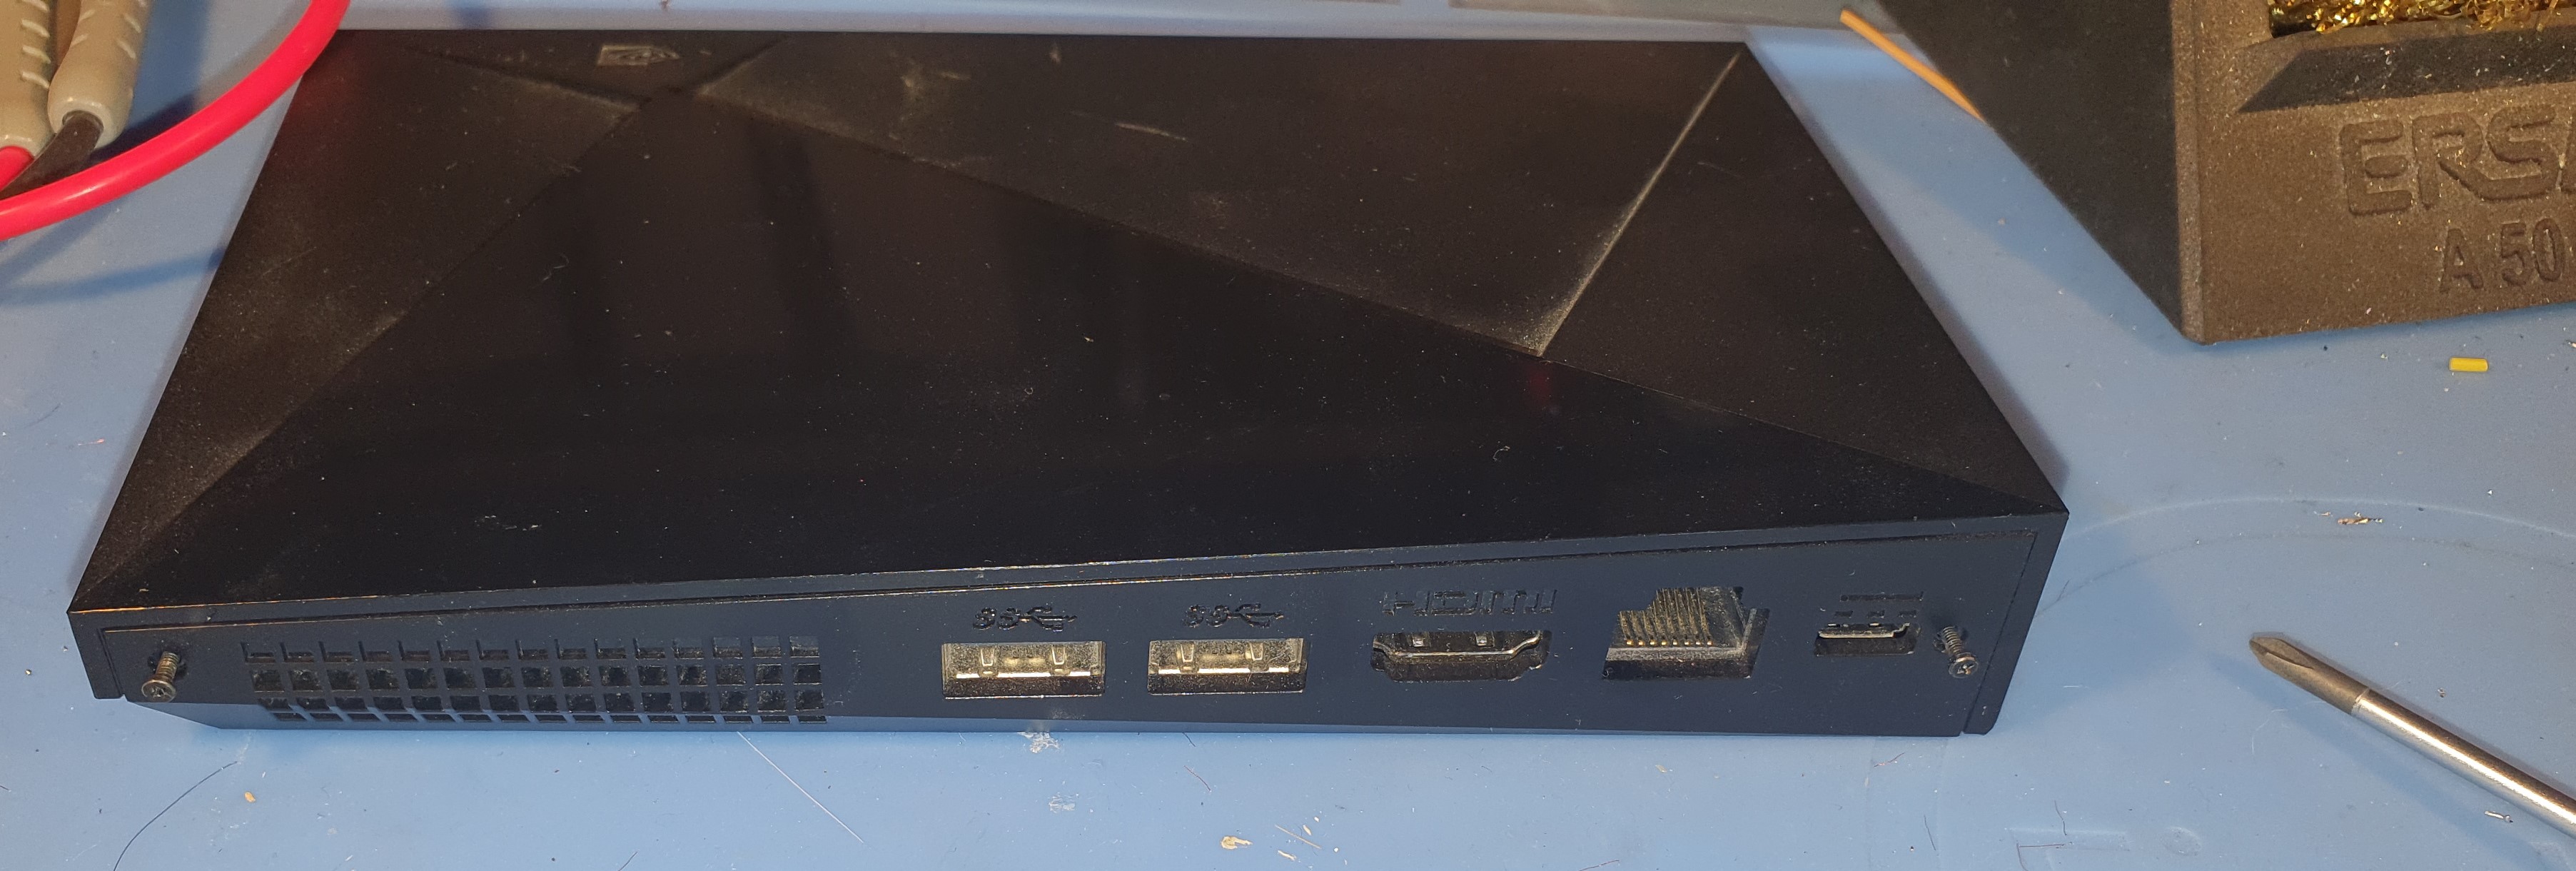
The Nvidia Shield TV has a proprietary power supply. It looks like a USB type C port but more square. The power supply is 19.0V @ 1.2 Amps.
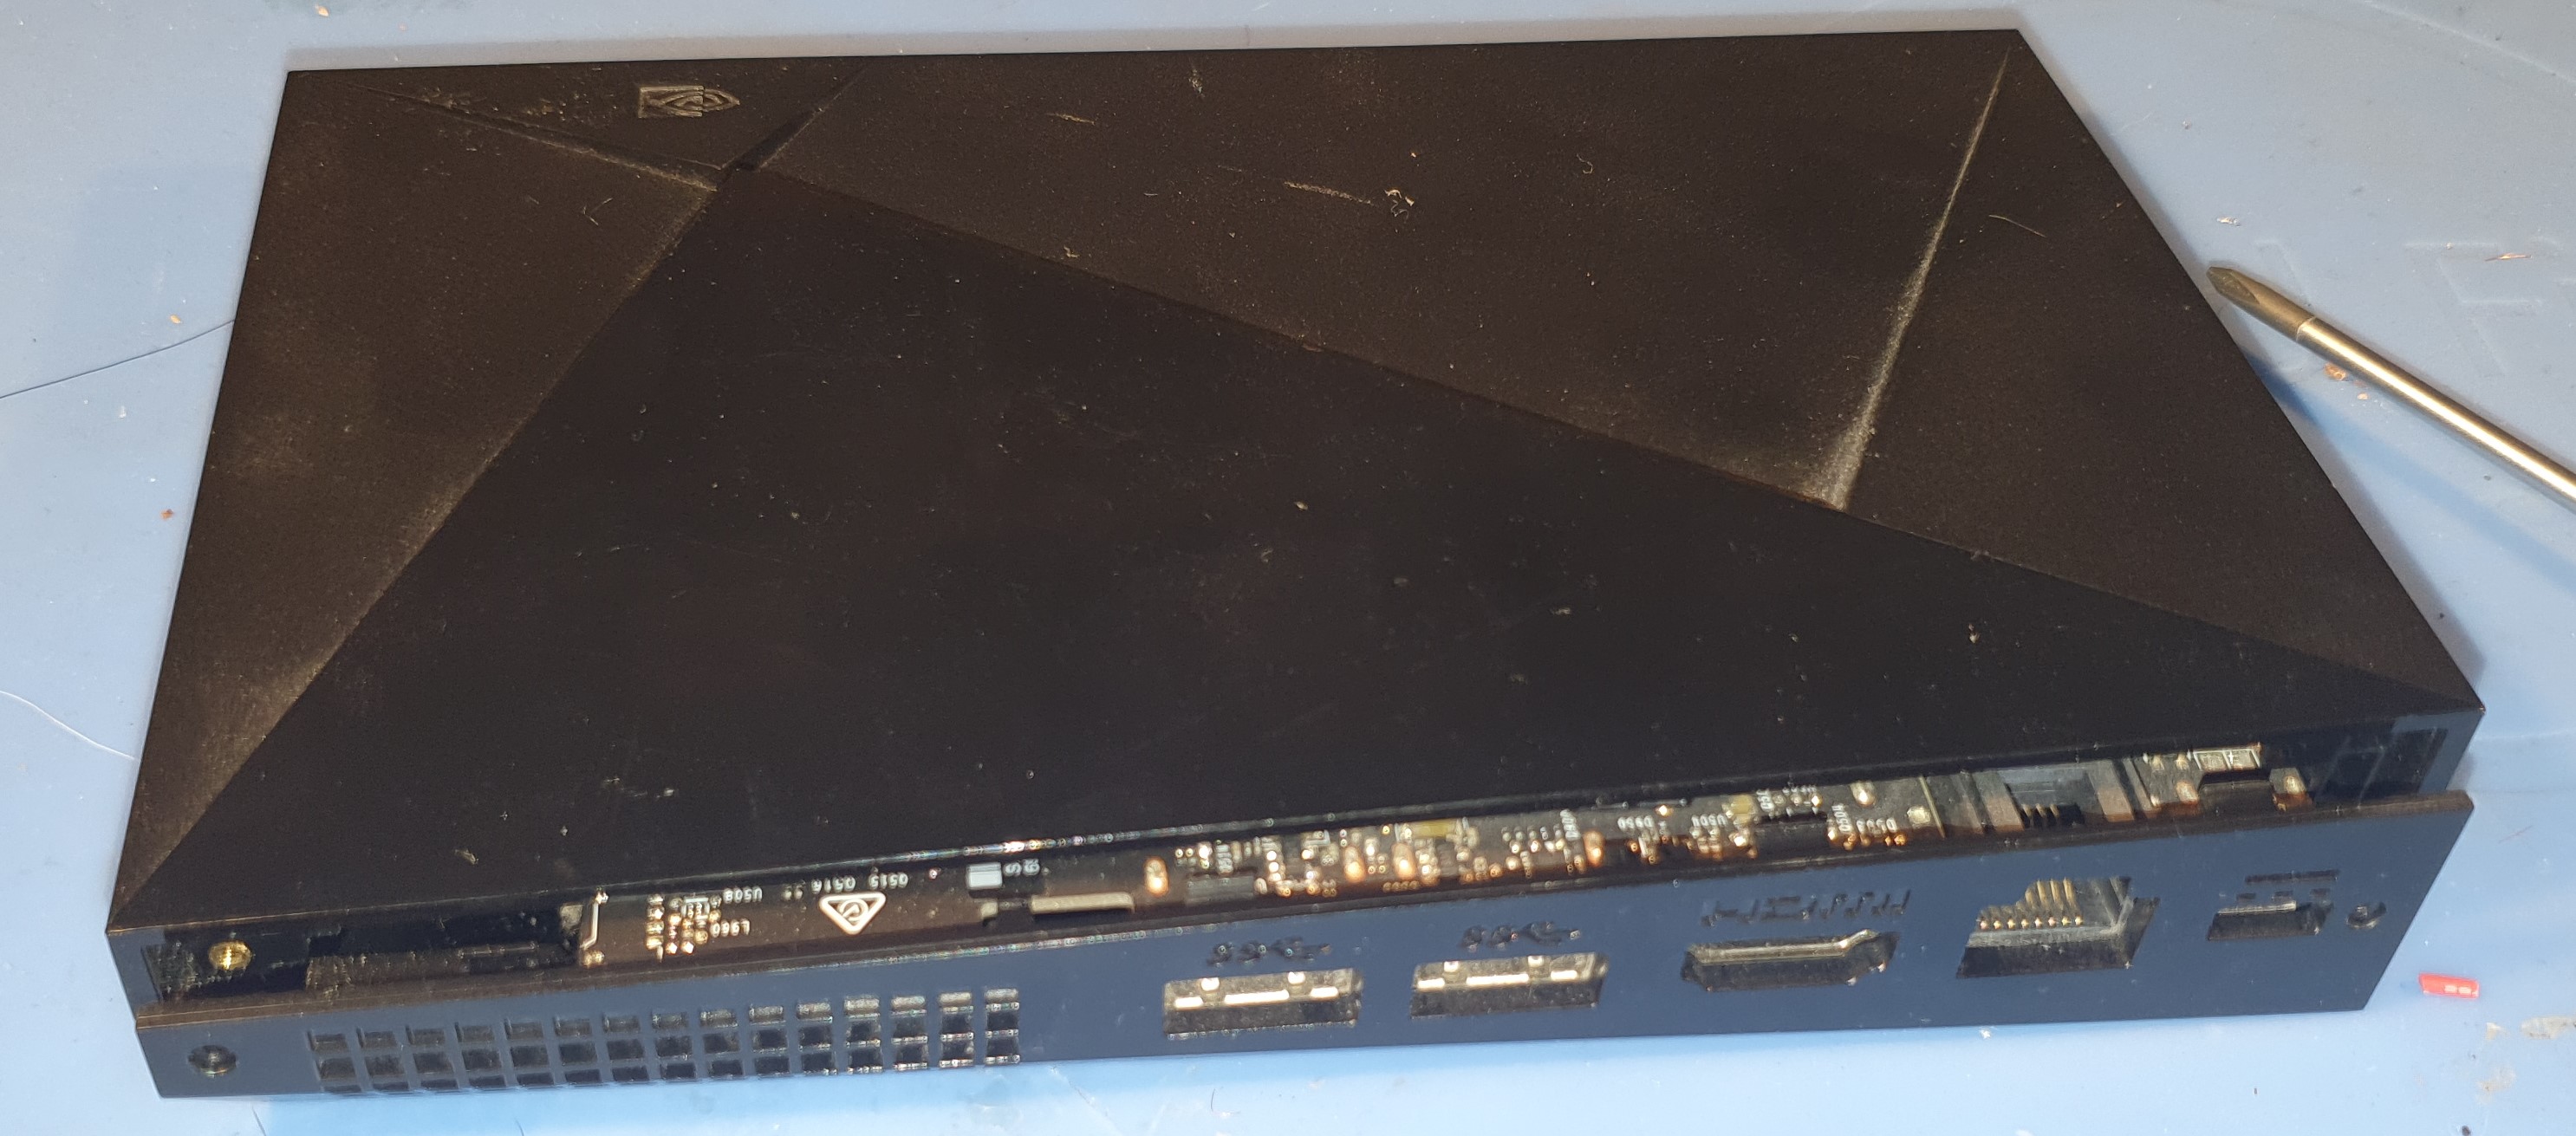
So I dismantled the shield and looked at how I could modify it.
Taking apart the Nvidia shield is fairly straight forward. There are two Philips screws to remove and then the top of the case slides off with a bit of force to release the clips.
To remove the Nvidia shield motherboard from the case you just remove the 4 screws with rings account them. There are two small cables to detach, one for LEDs on the case and one for the fan.
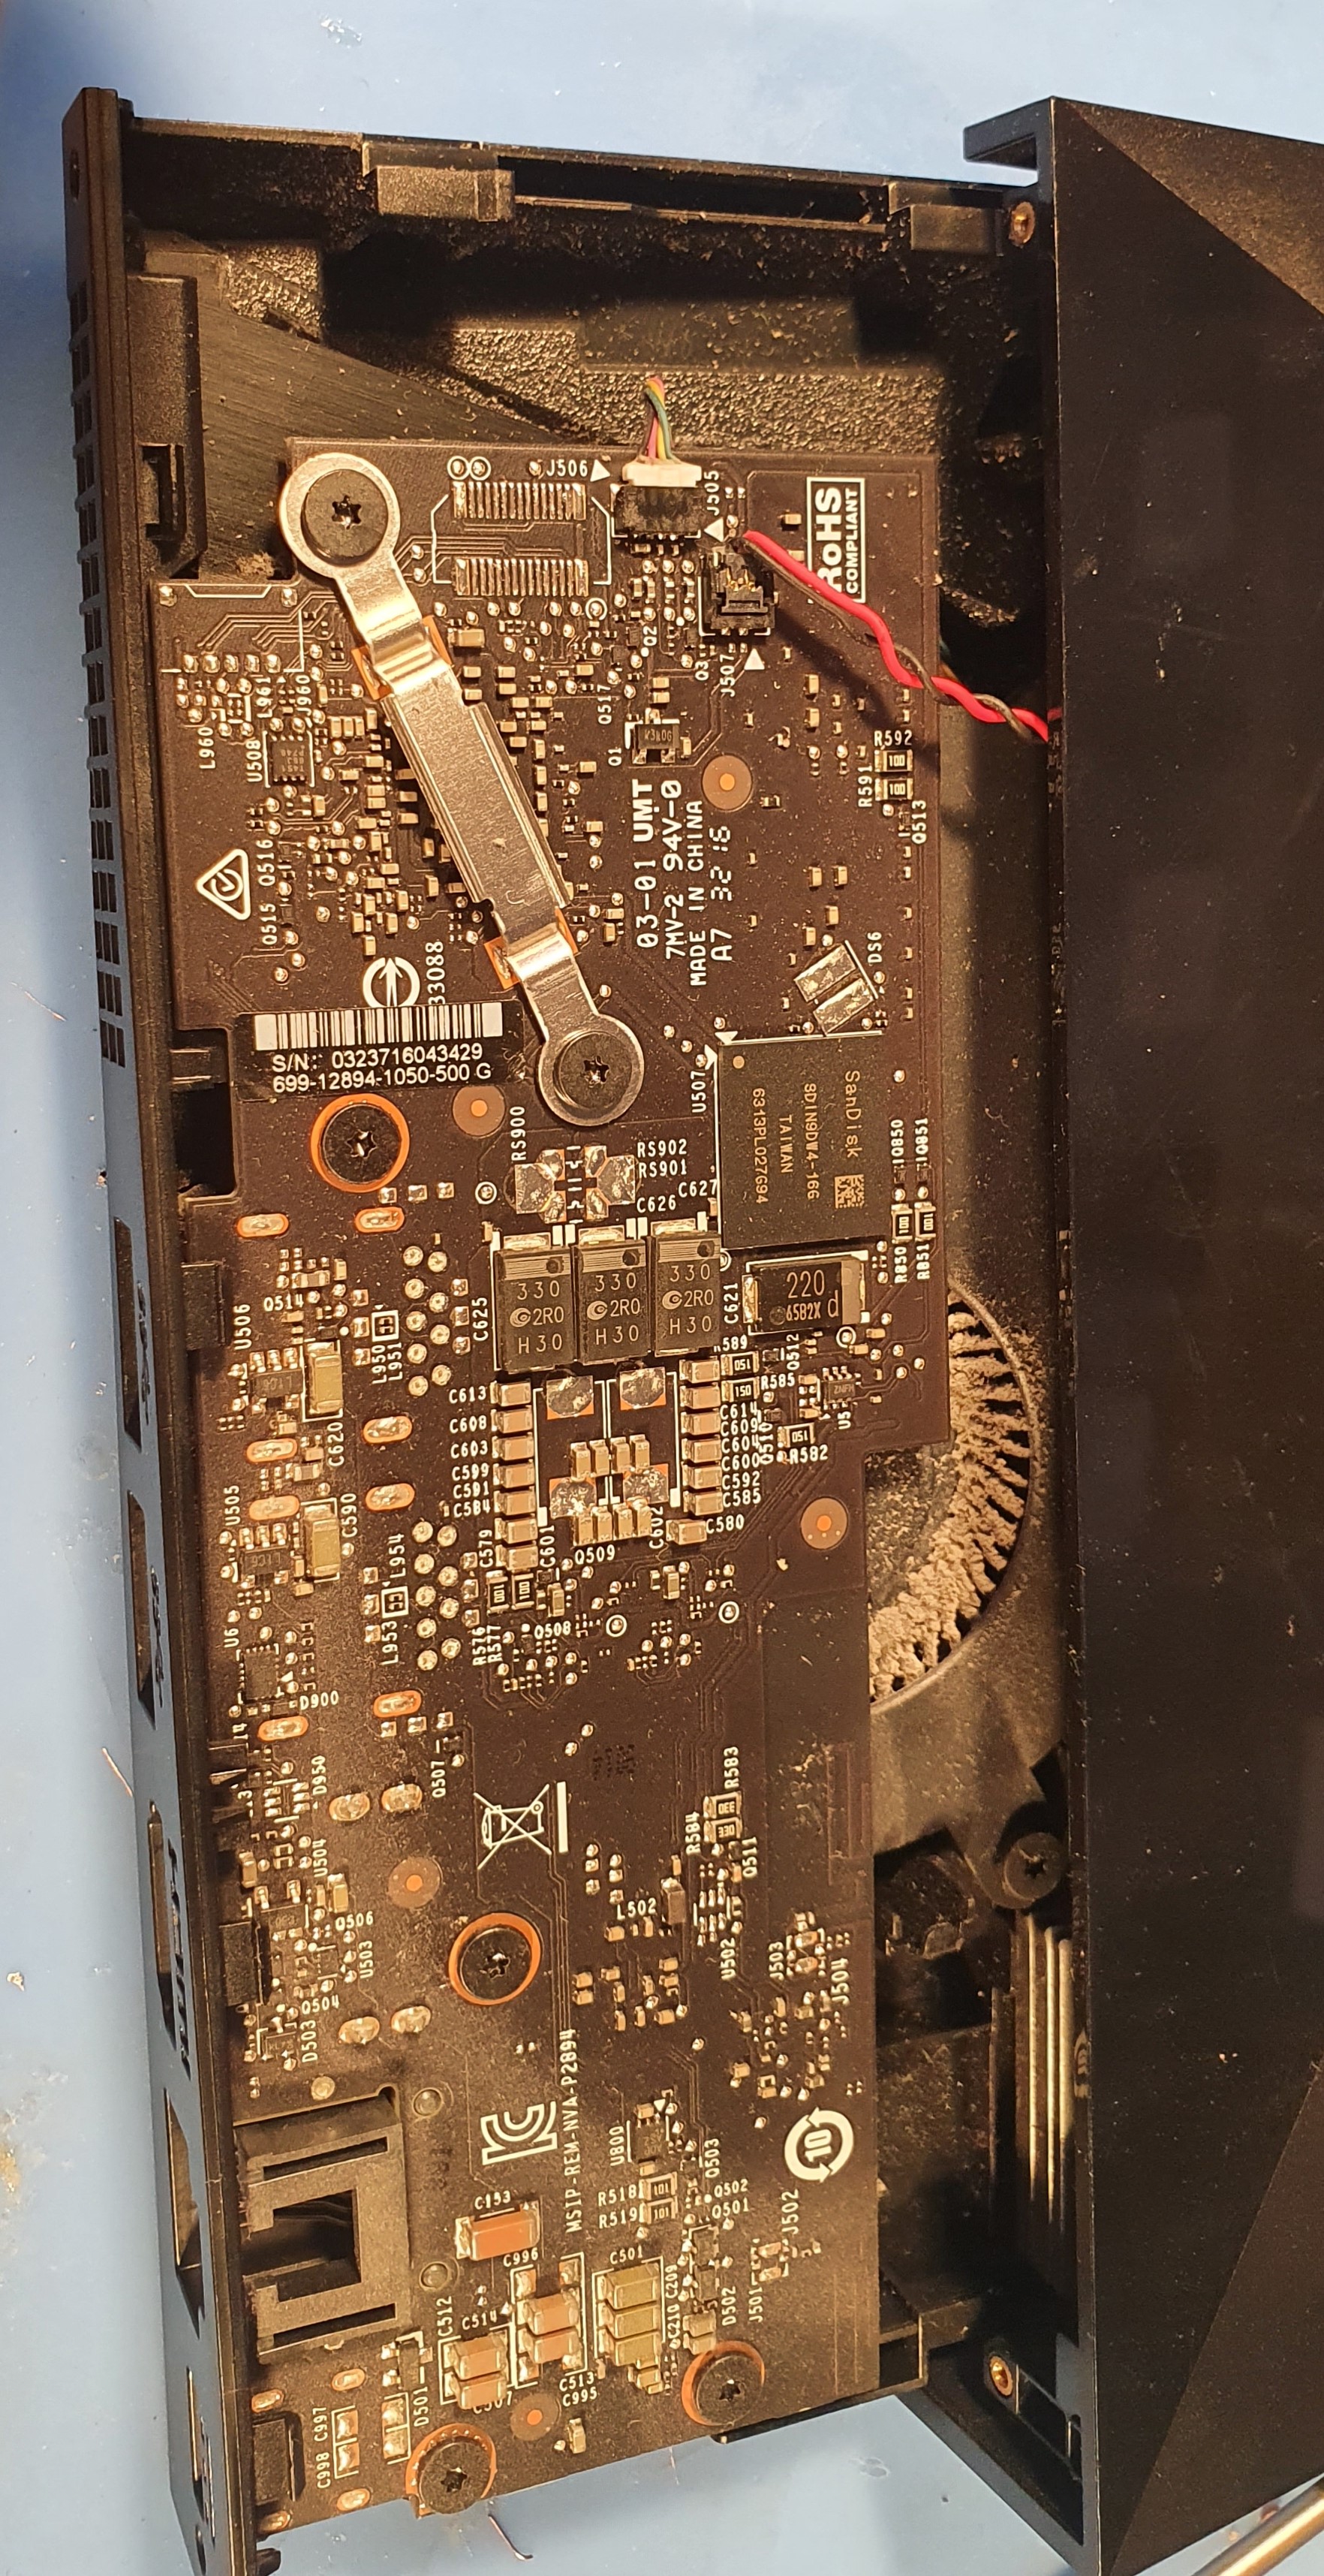
Once the board was out I powered it back on and probed the DC socket on the board to check the voltage and pinout.
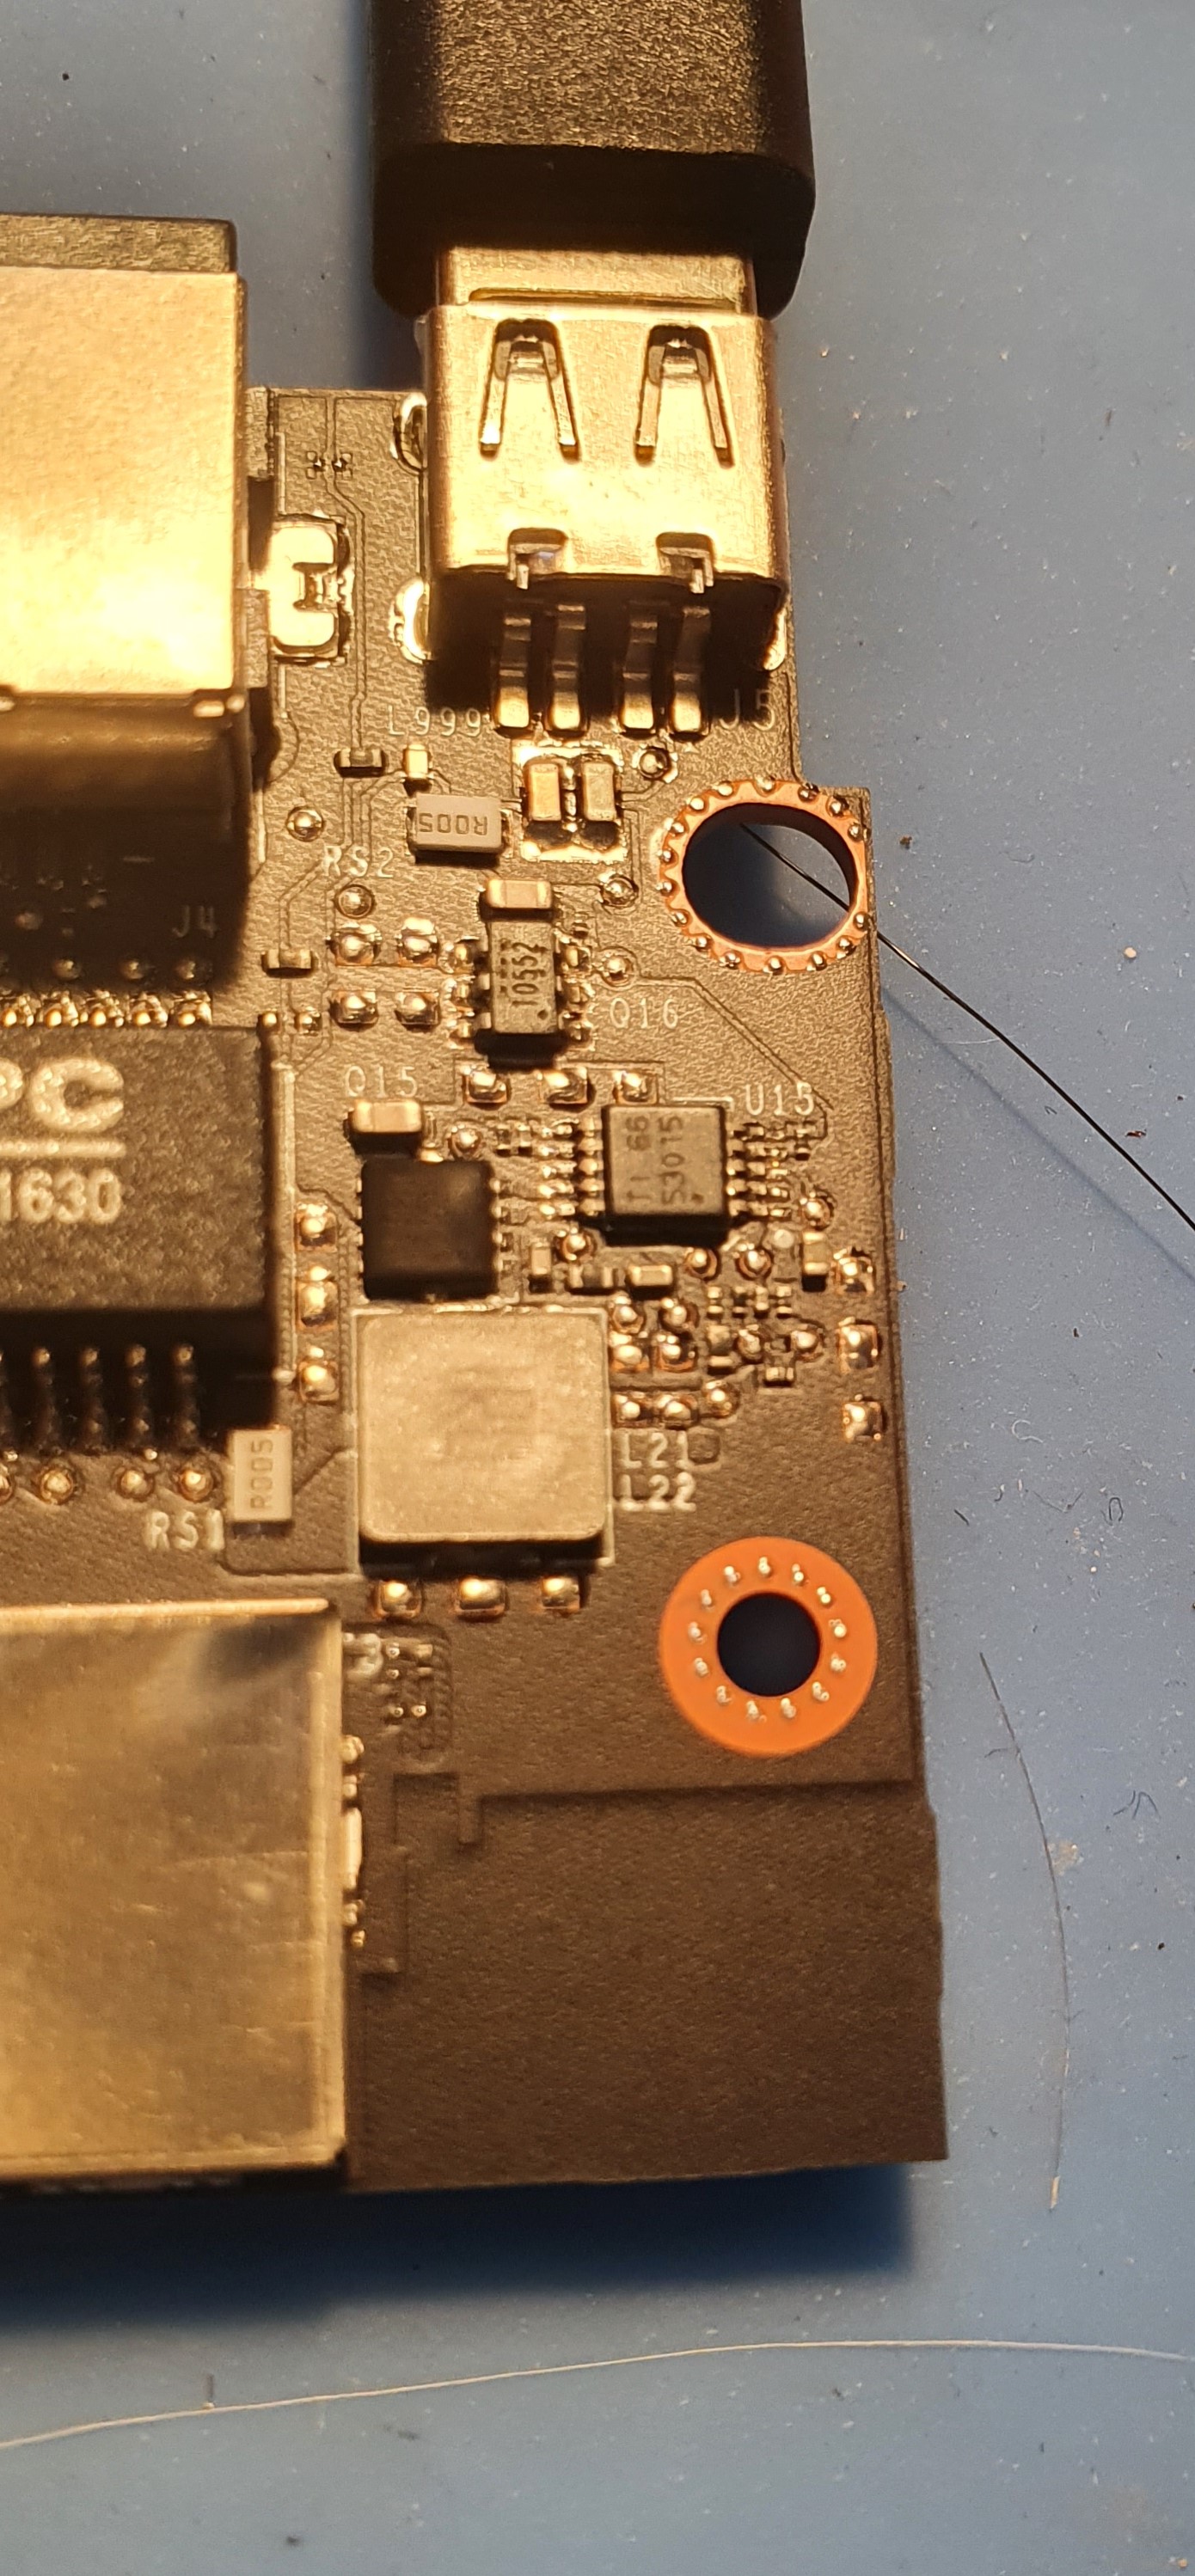
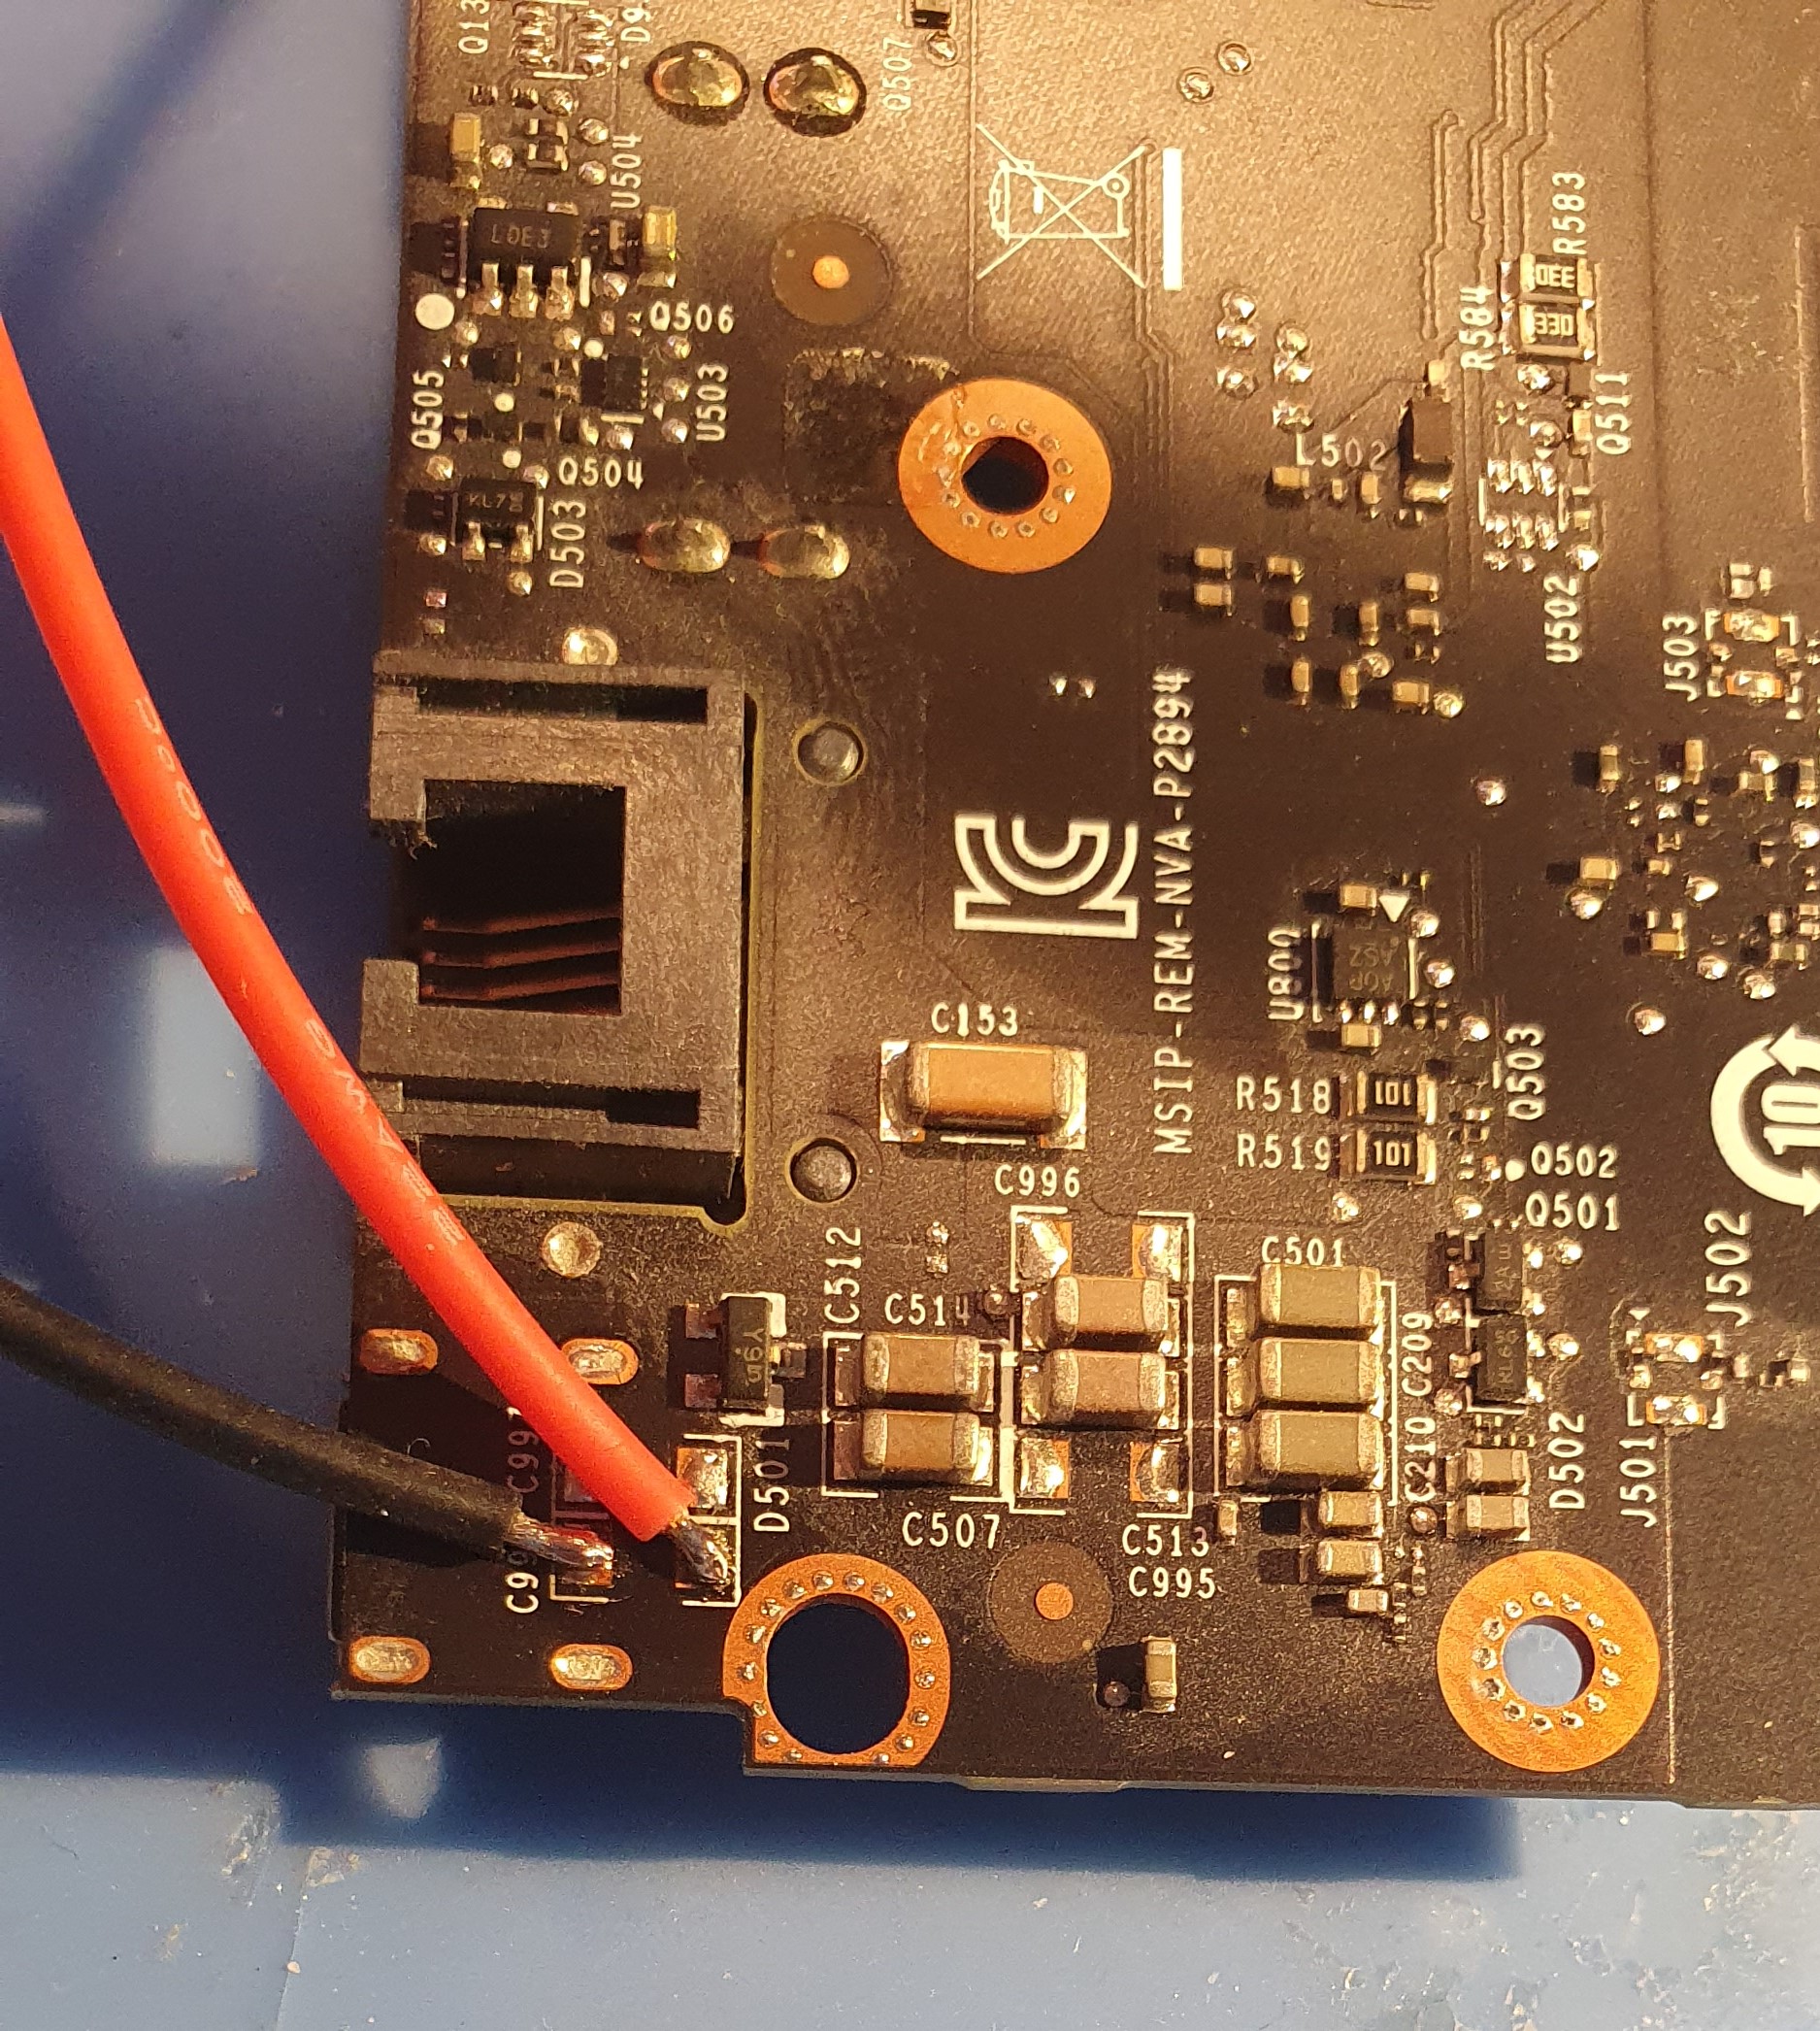
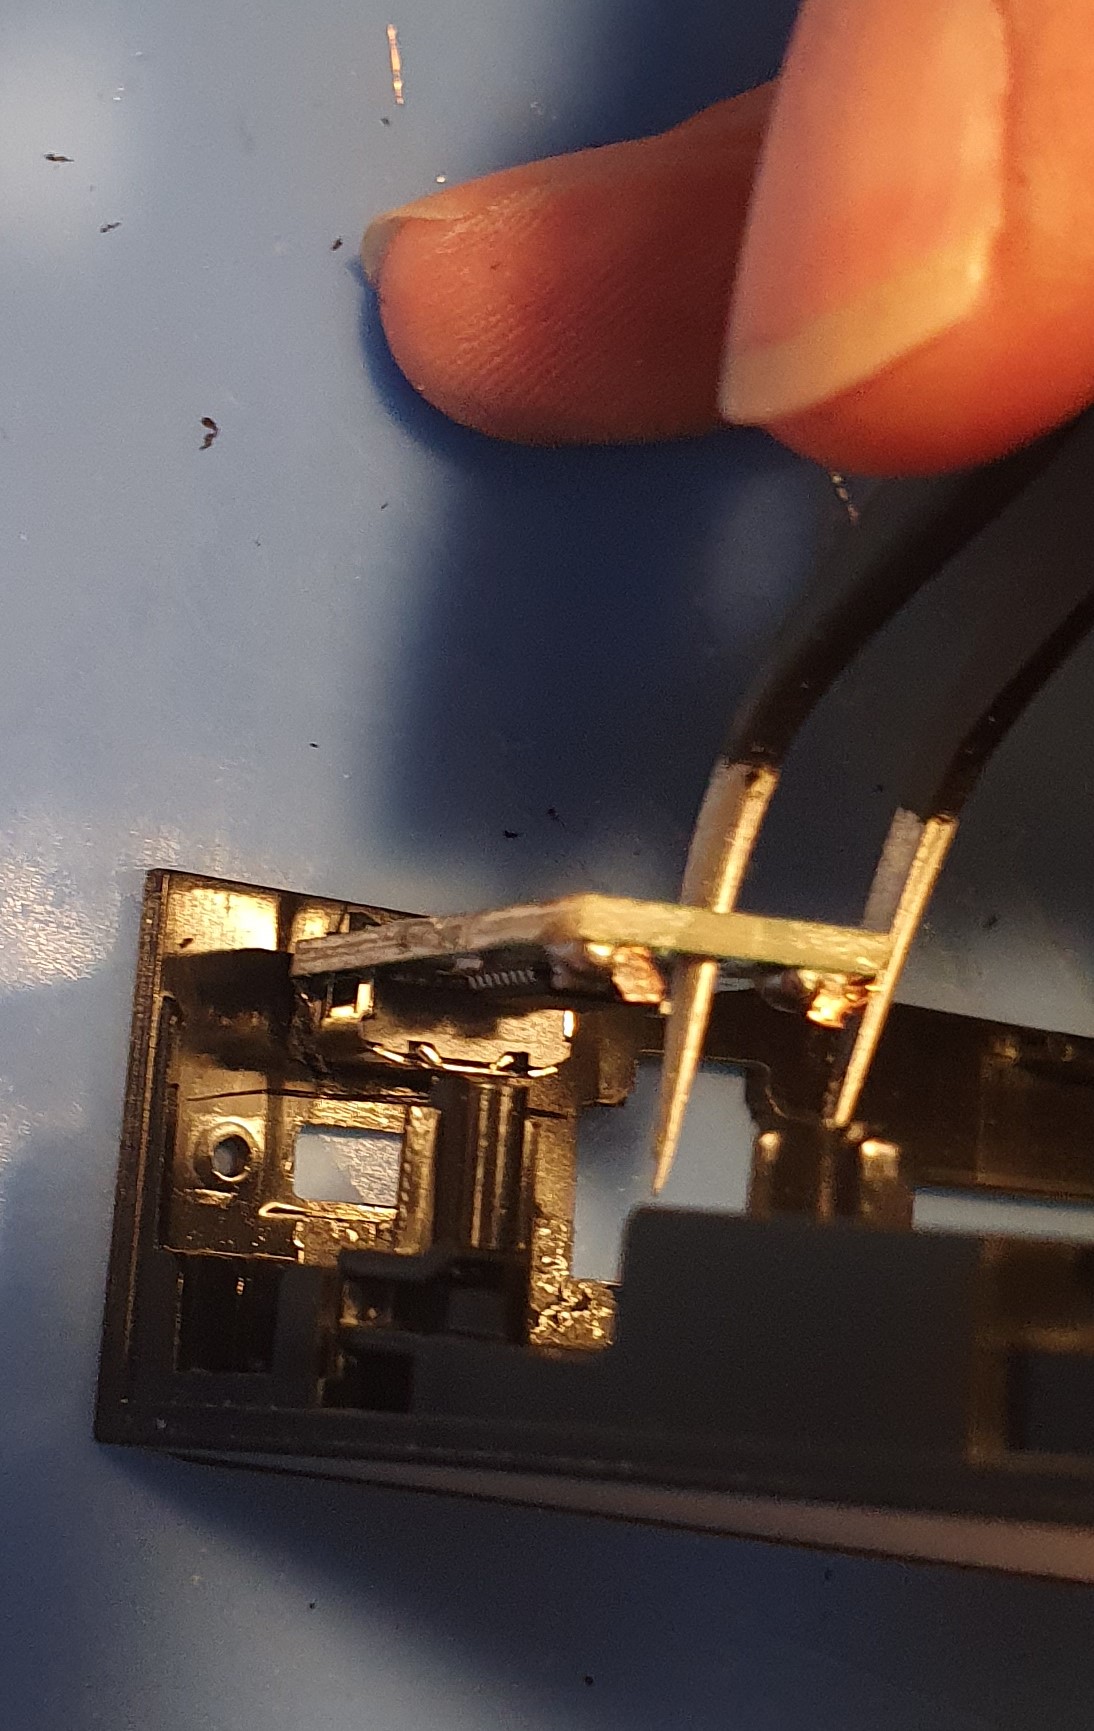
I then tapped on some wires to the board to the points I’d probed 19V at so I could run some tests from a bench top power supply. The wires are connected to the other side as I thought it made more sense for routing power later on. (my plan changed half way through but the tapped on wires were still used.)
I was hoping I could power up the shield on just 12 to 14 volts which is the range of my camper’s LiFePO leisure battery. Unfortunately the shield didn’t boot until nearly 19 volts. I considered tracing the board looking for the DC-DC buck converter components but decided against it. I don’t know how clean my leisure battery power is, if I start my engine or put a large AC load on. I thought I’d try and feed the shield 20 volts instead from a USB C Power Delivery charger.
This isn’t as efficient as I’m bosting 14 Volts to 20Volts for the shield to probably drop that back down to 5 or even 3.3 volts but it seemed the most robust solution.
20 Volts is 5% over the 19V input specification but I’m fairly sure this is well within a safe range. Feeding 20 volts in from the bench power supply the shield worked fine so moved onto stage 2… running this with a USB Type-C PD supply.
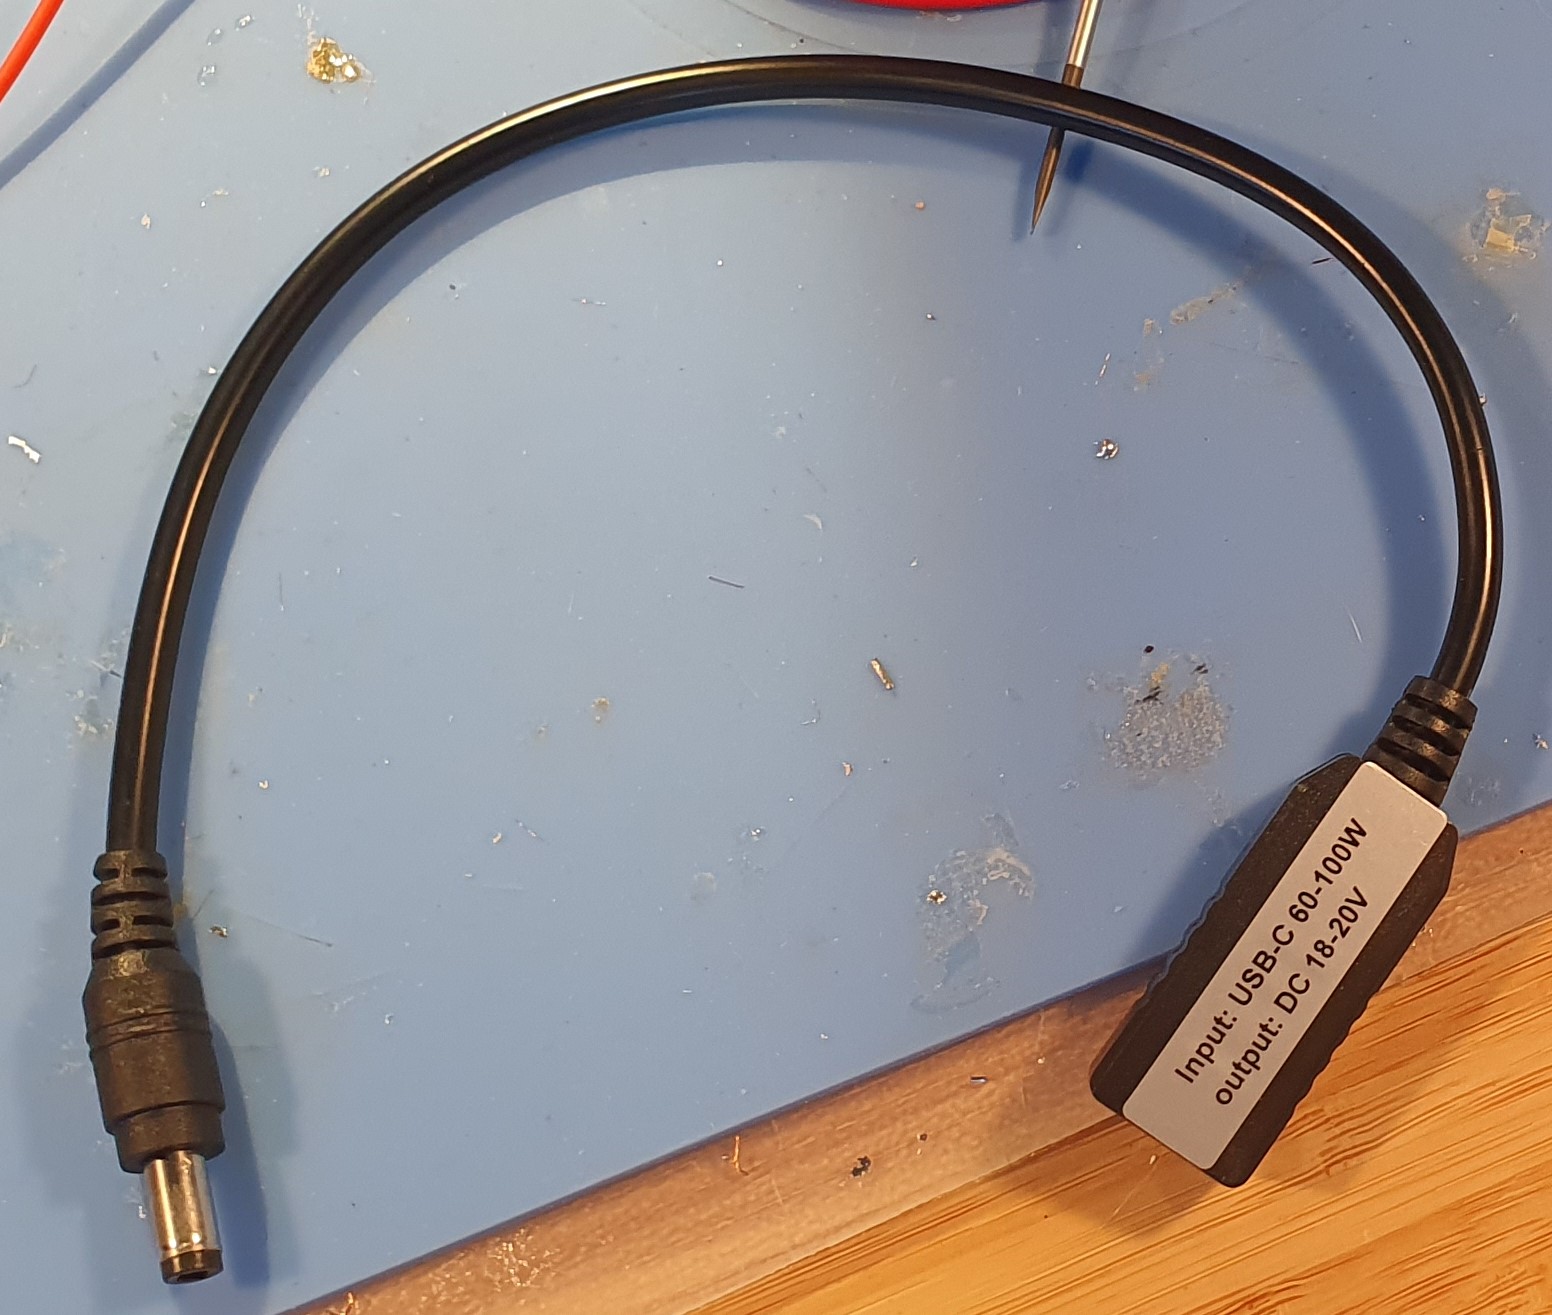
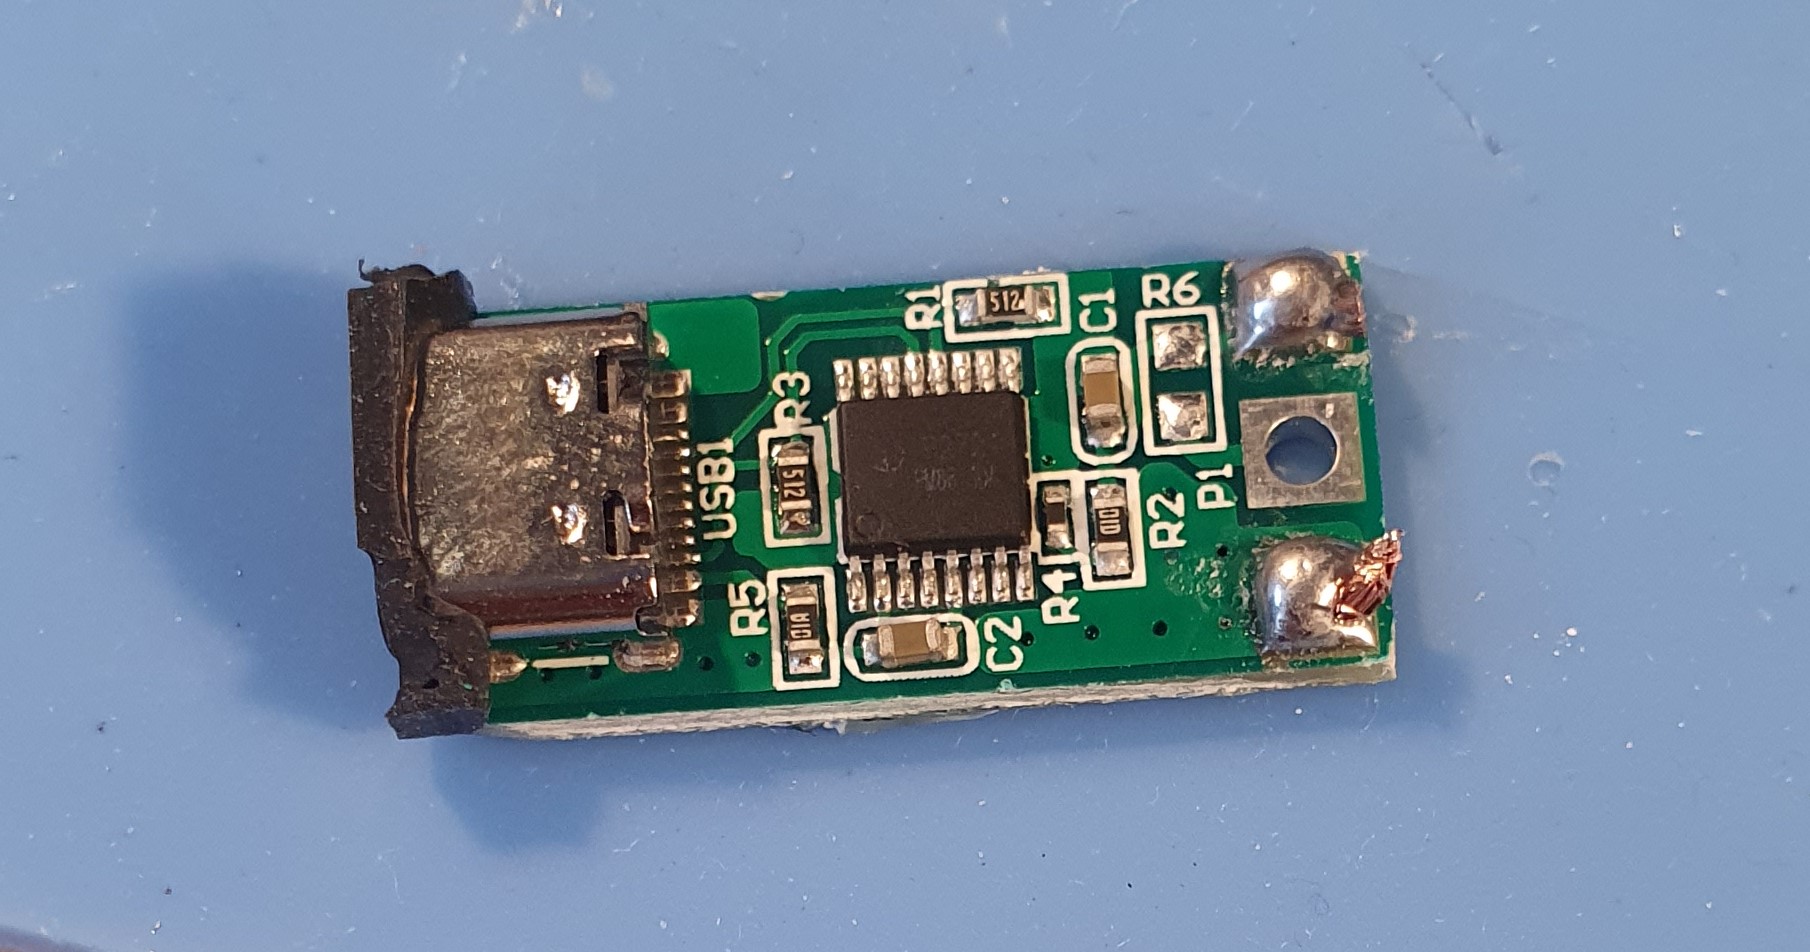
I looked at ordered a USB type C PD trigger board. These take USB C PD as an input and give you two pads to solder to. USB PD can output 5v, 9v, 15v or 20v.
I was in a rush and didn’t want to wait for shipping from China so I got my board from amazon as part of a laptop type C converter cable. It’s the same circuit board you can get on ebay under the search for “Type C trigger board” but mine arrived in a plastic case. If you order a trigger board be sure to get a 20V or selectable model rather than the 15V output models.
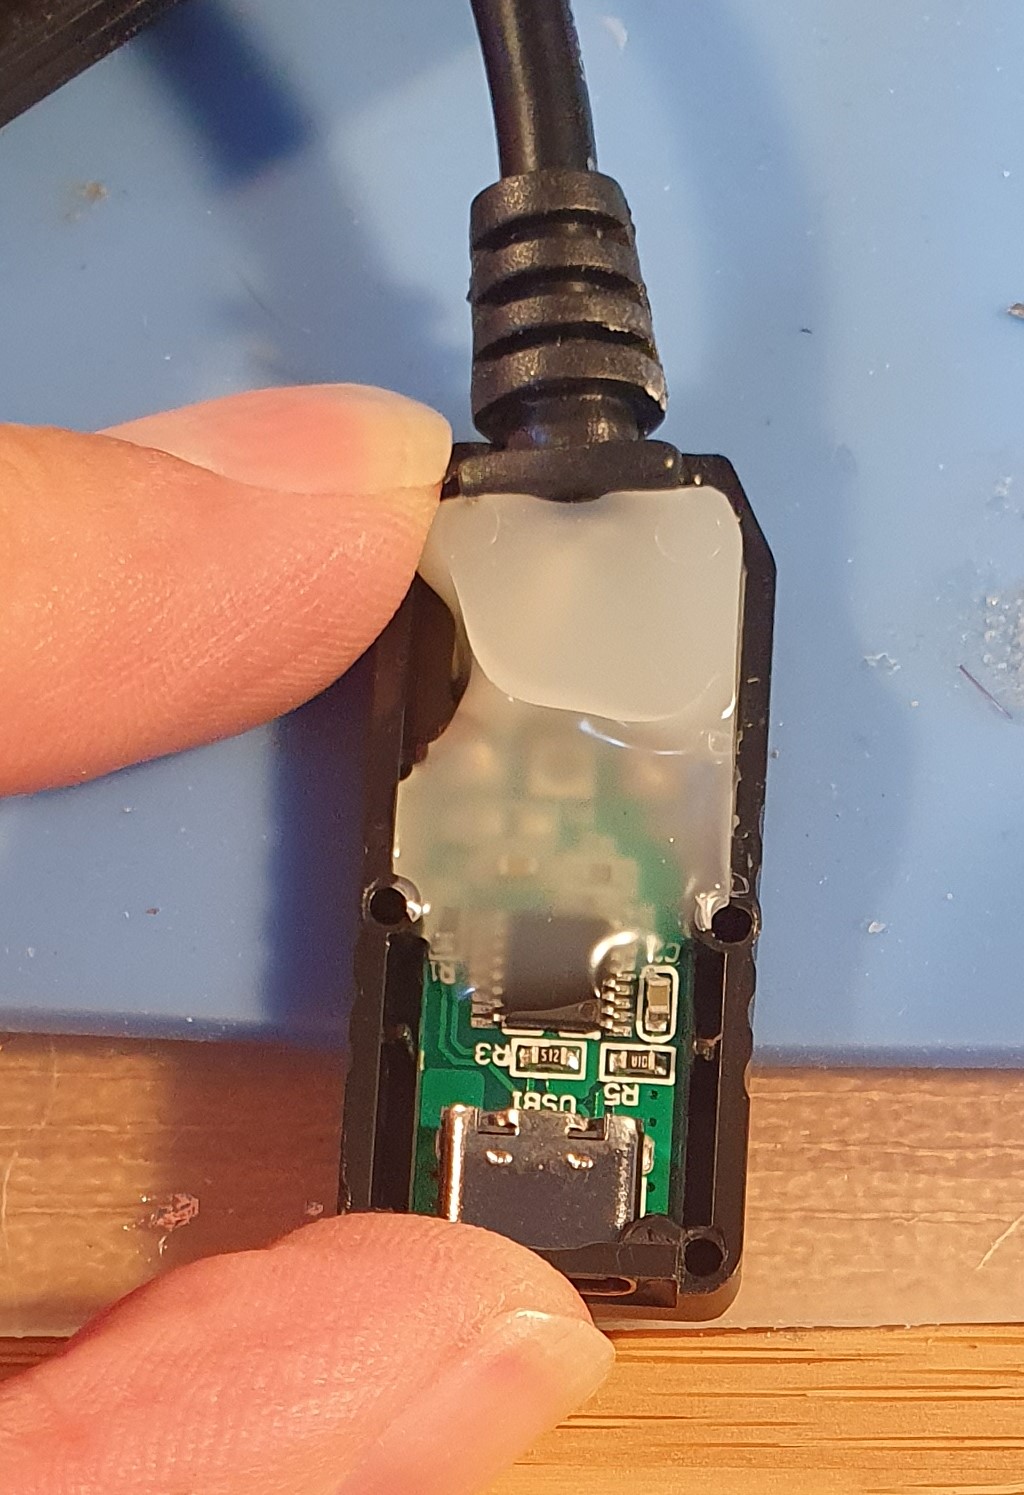
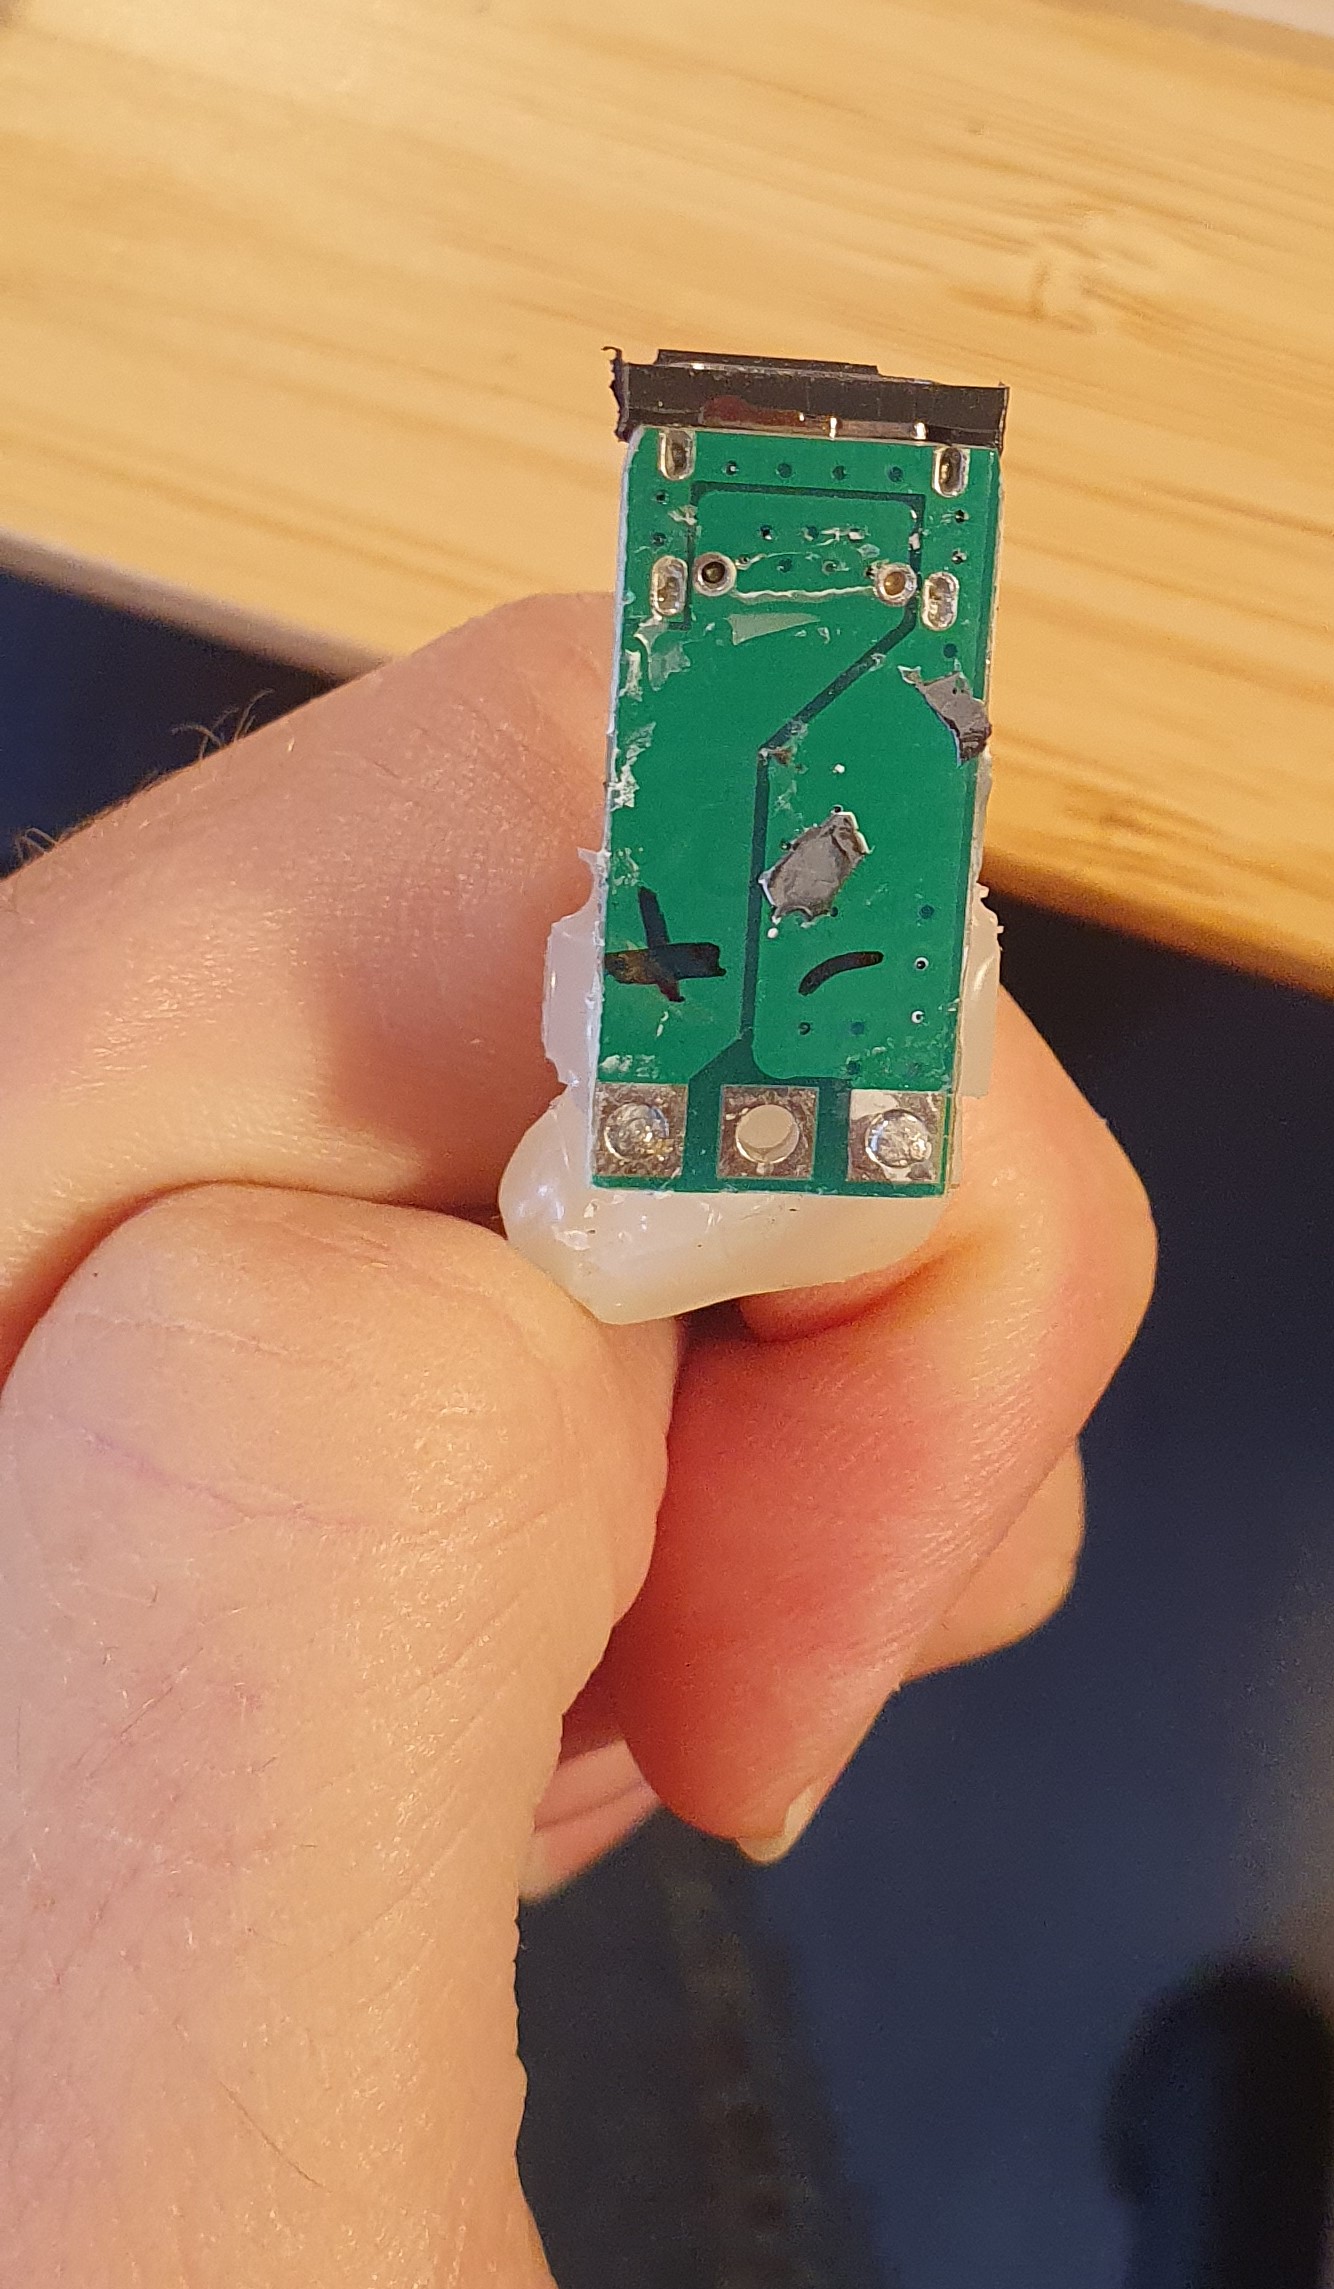
Cracking open the plastic charger case you can see the circuit board held in place by some hot glue. Side cutters make quick work of this and I was left with a usable trigger board.
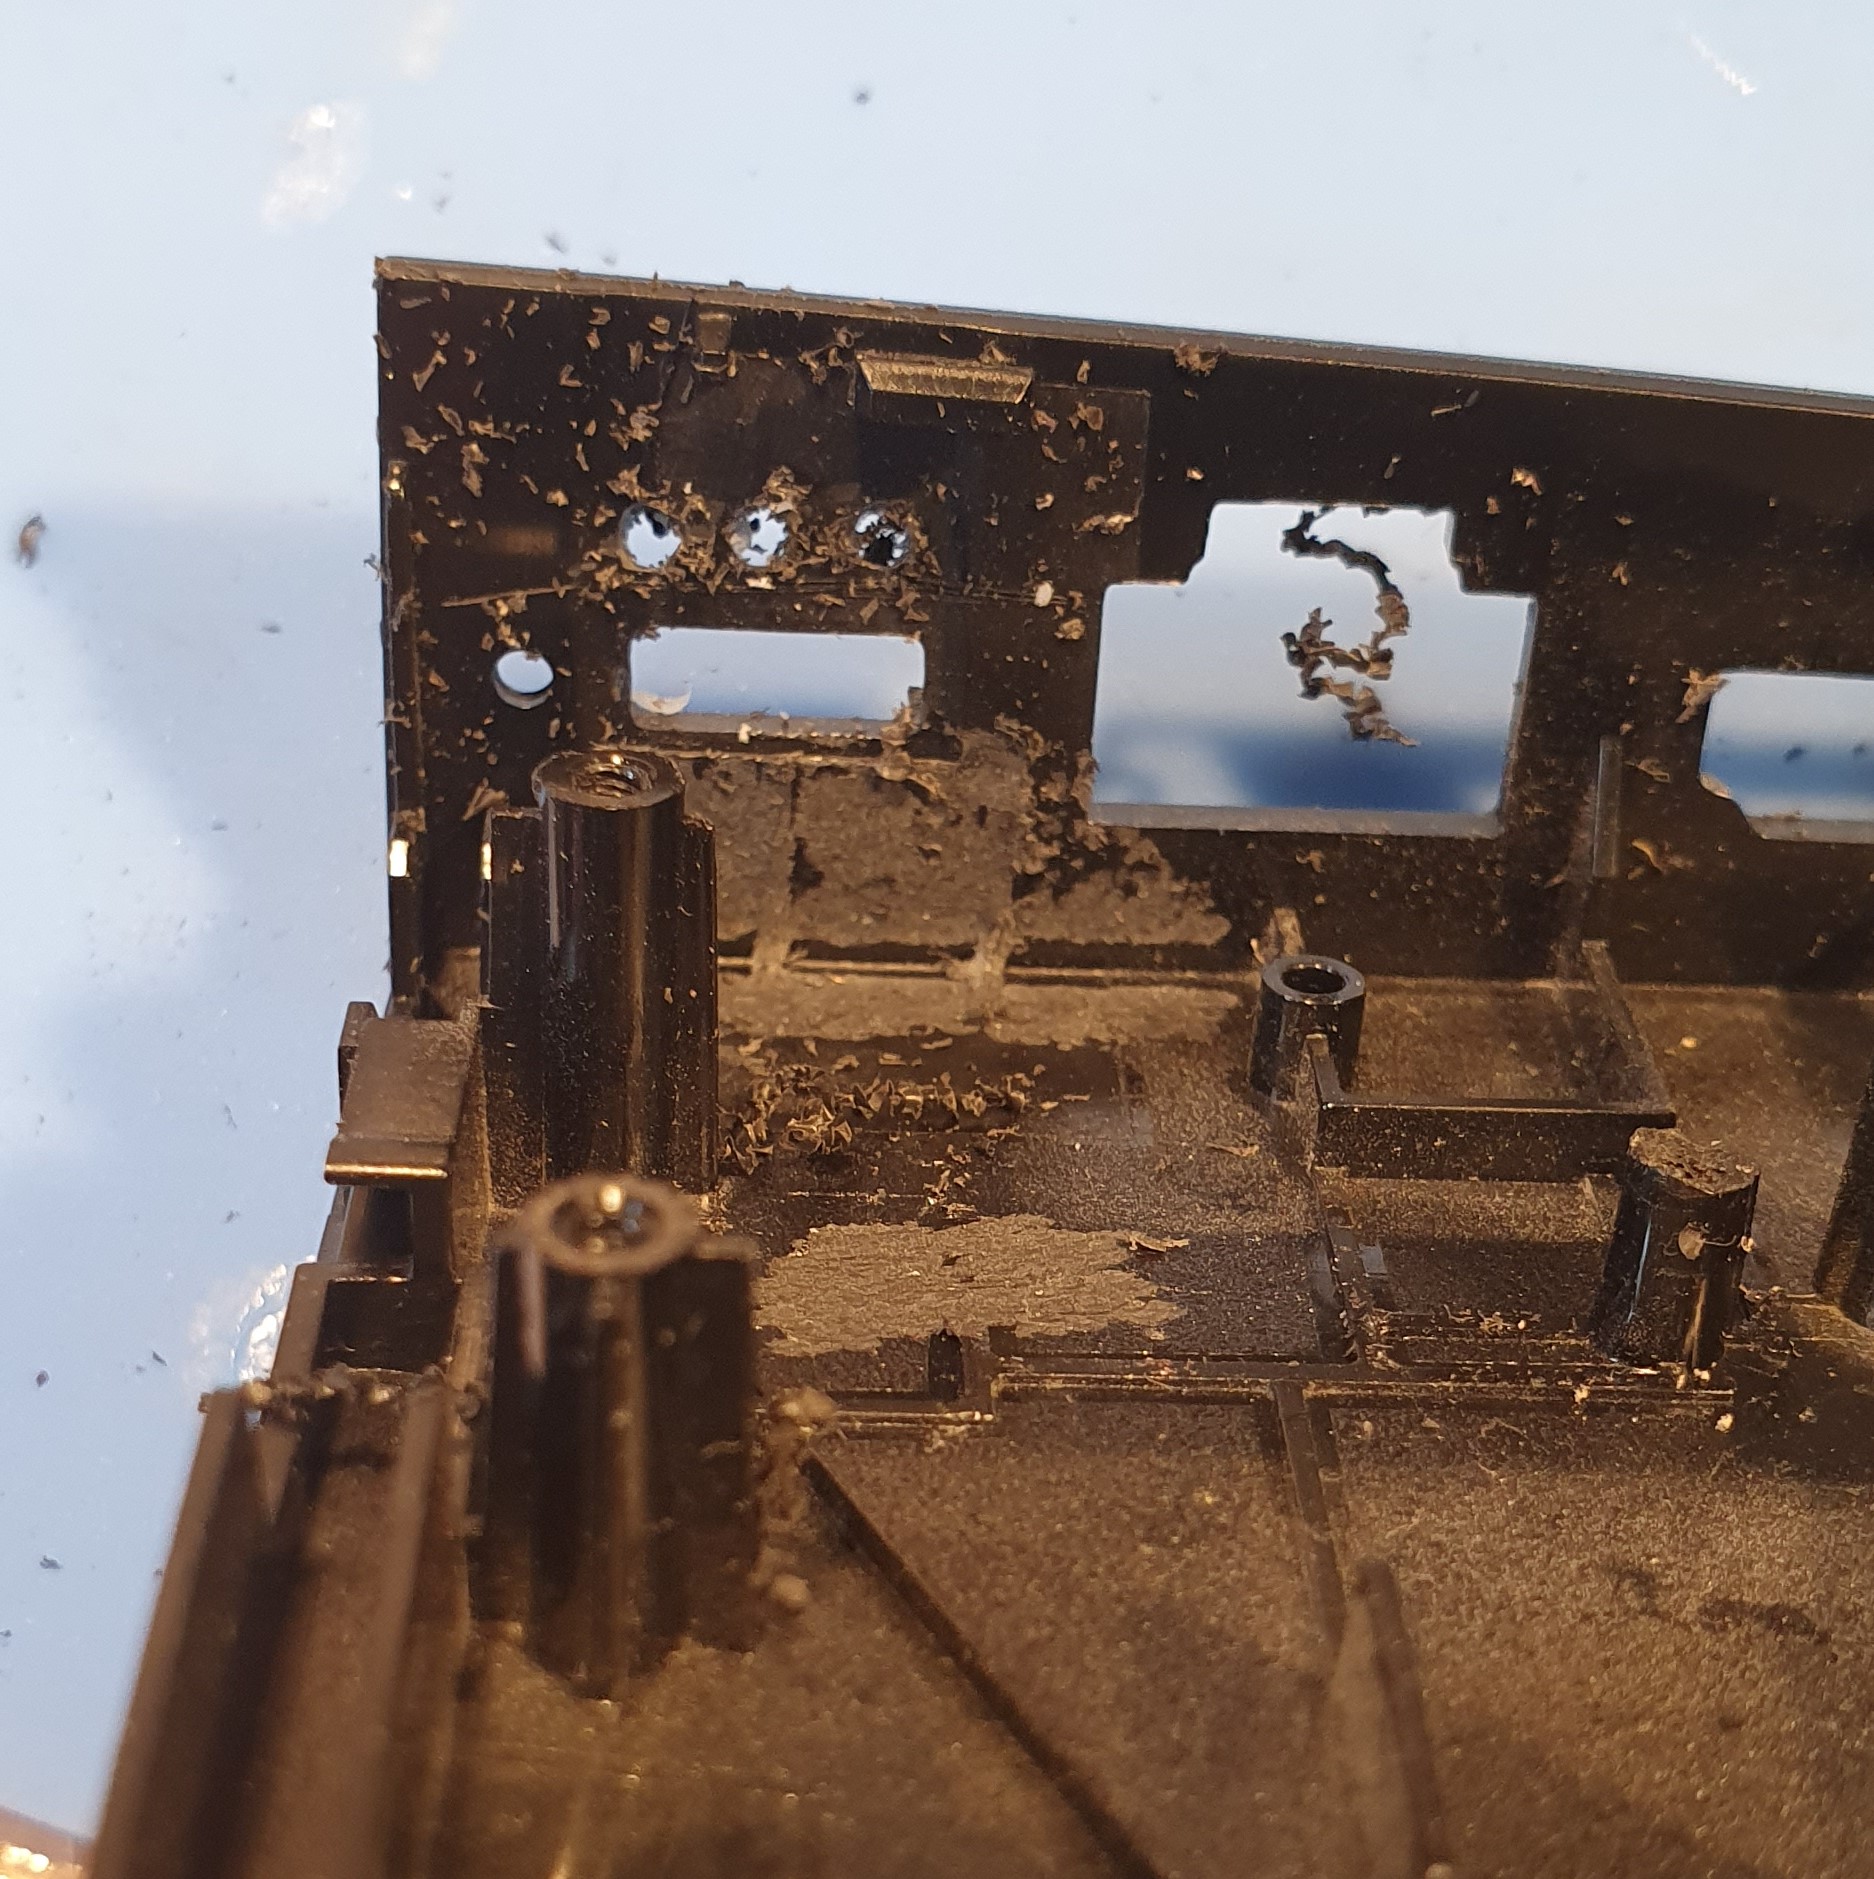
Putting the trigger board in the Nvidia shield took a bit of trial and error. I cut out some plastic from the case with the intention of putting the trigger board under the main shield motherboard but after cutting the plastic away I found it didn’t fit.
Instead there is just enough space on top of the board.
Some careful measuring, drilling and filing and I was able to cut the new Type C hole in the case.
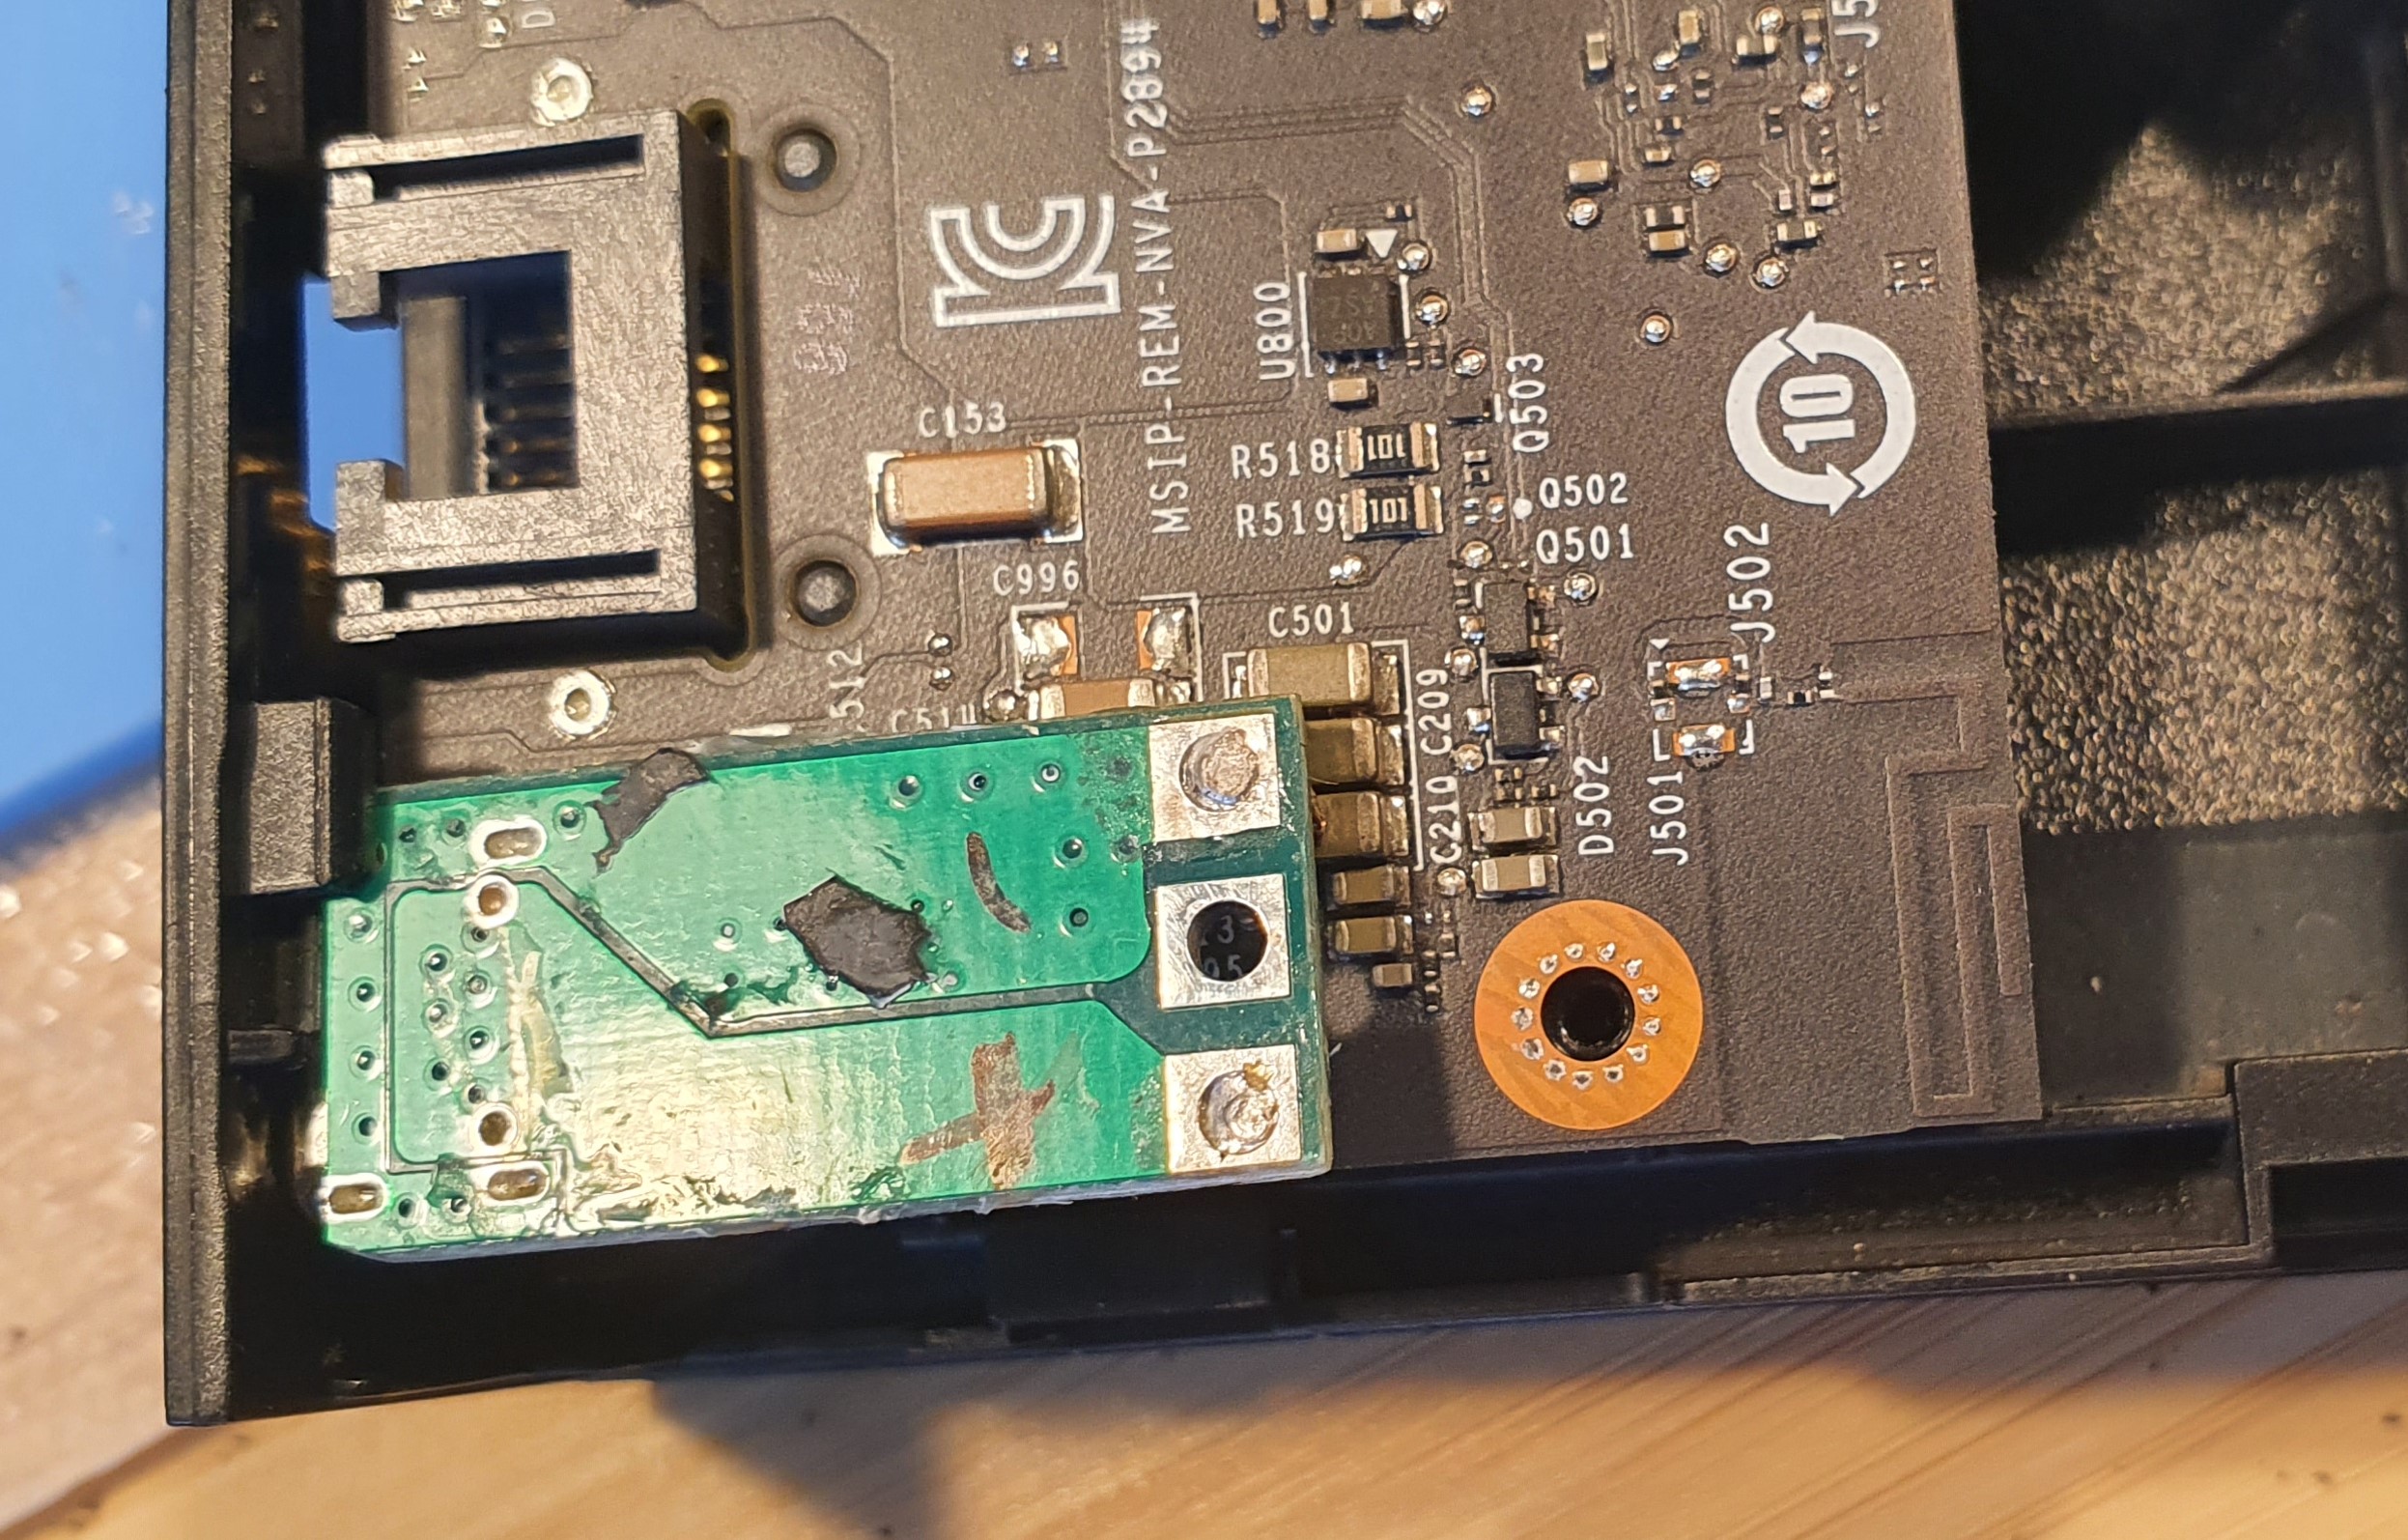
The type c trigger board was now going to sit on top of the shield main board so I needed to insulate the two with kapton tape.
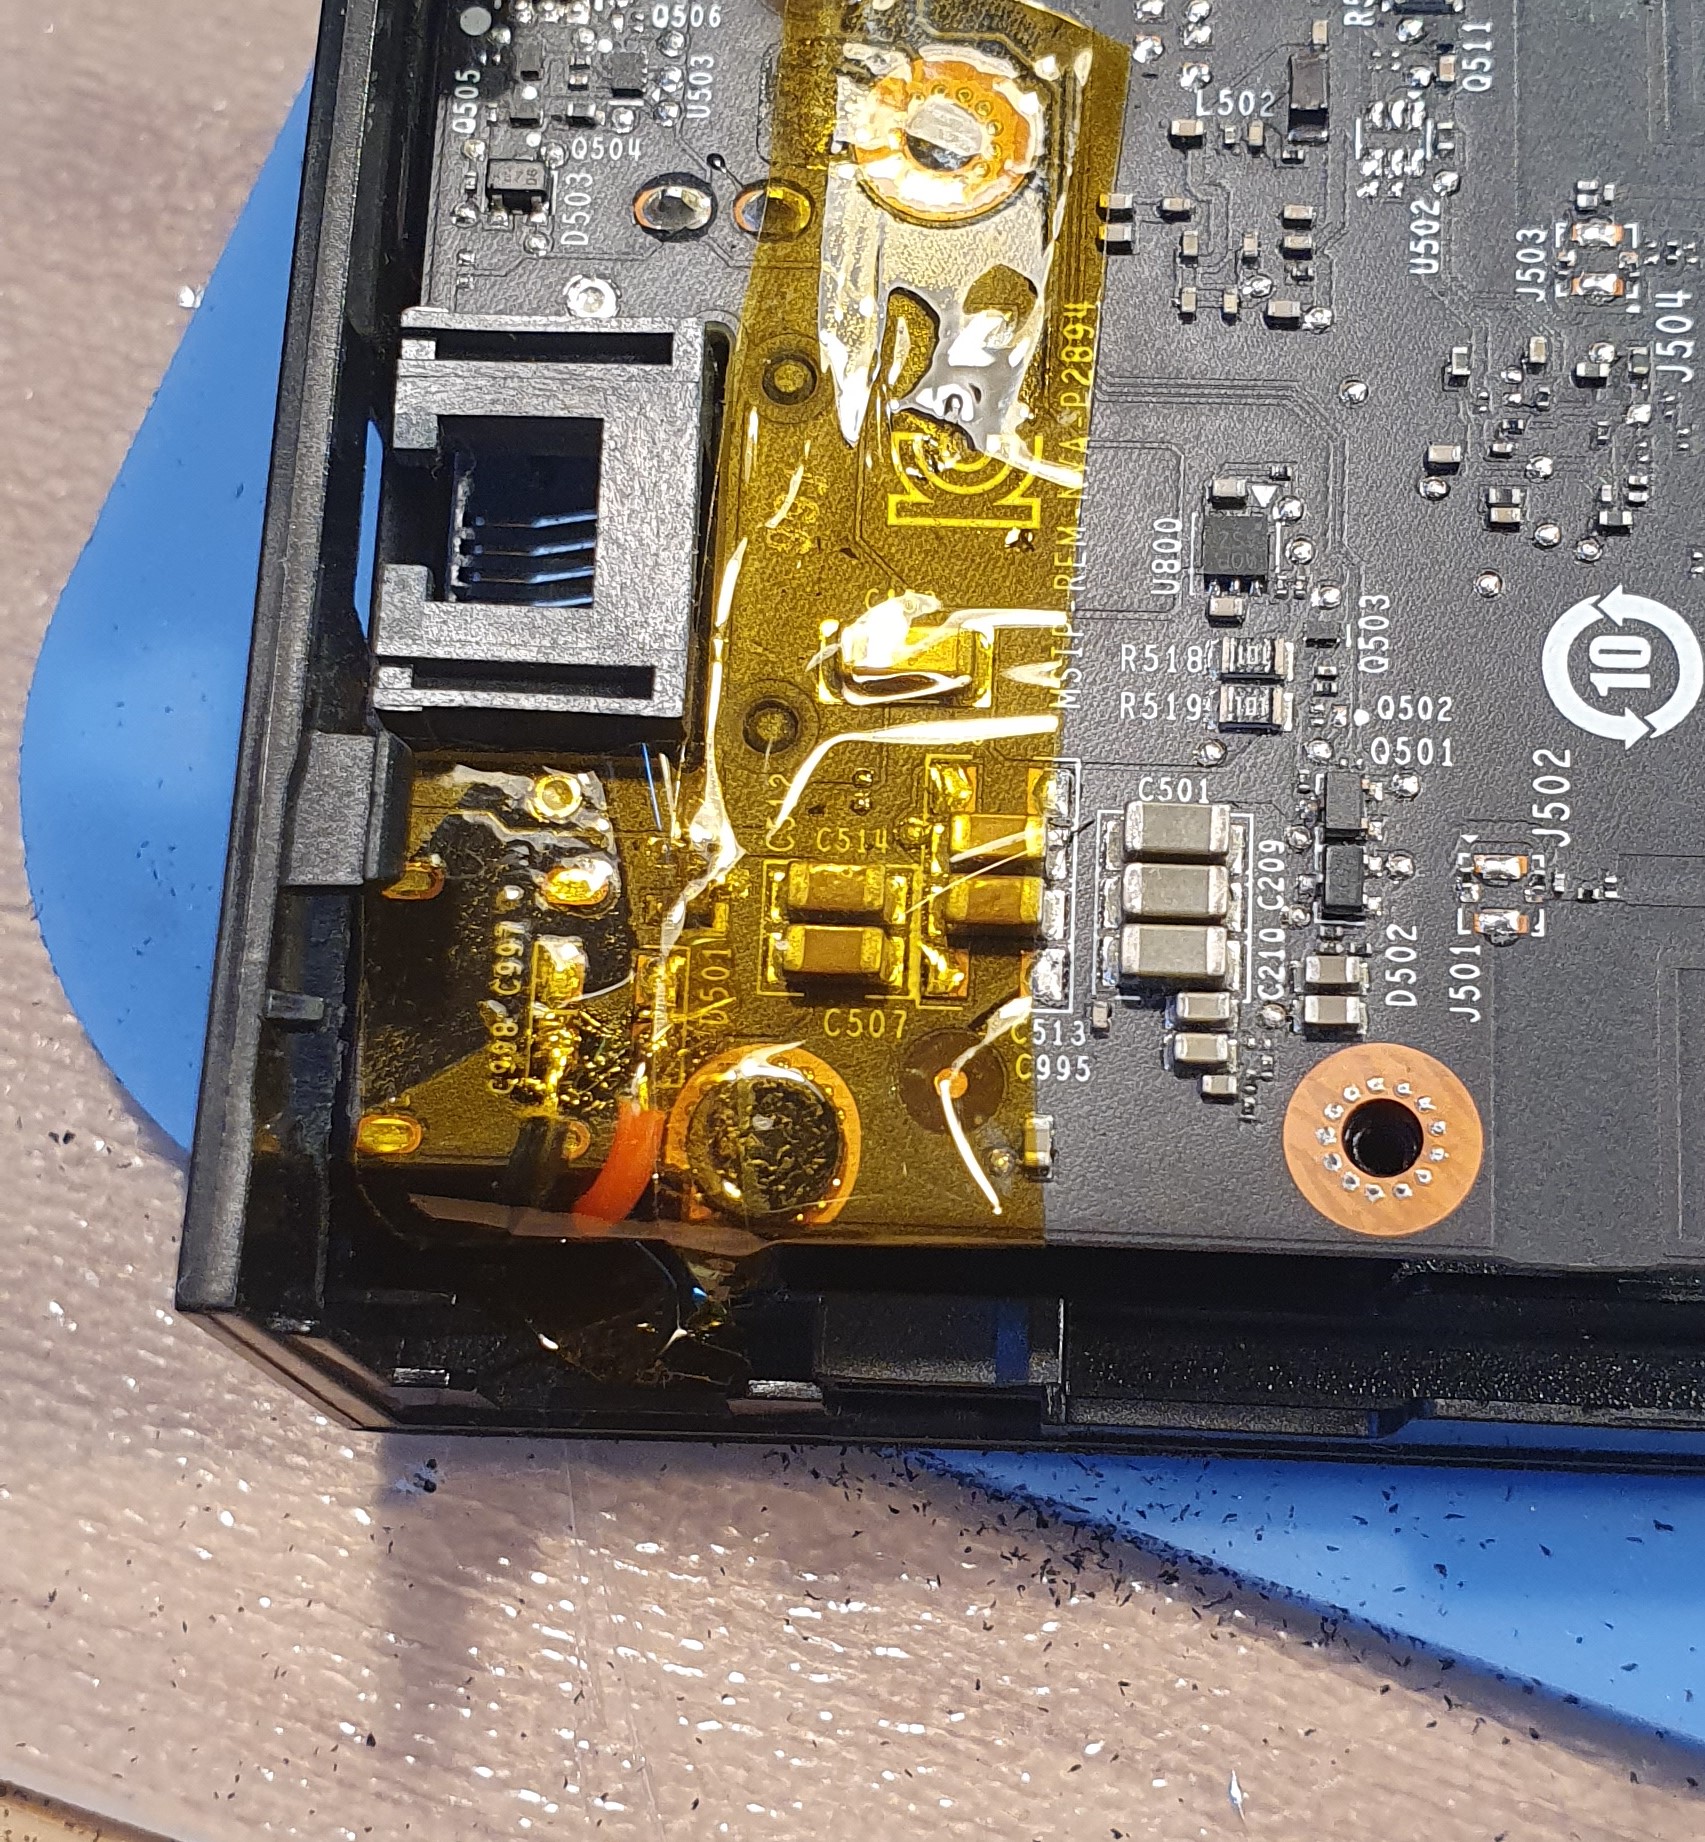
I attached the power fly leads I’d soldered to the main board of the shield and it was nearly done.
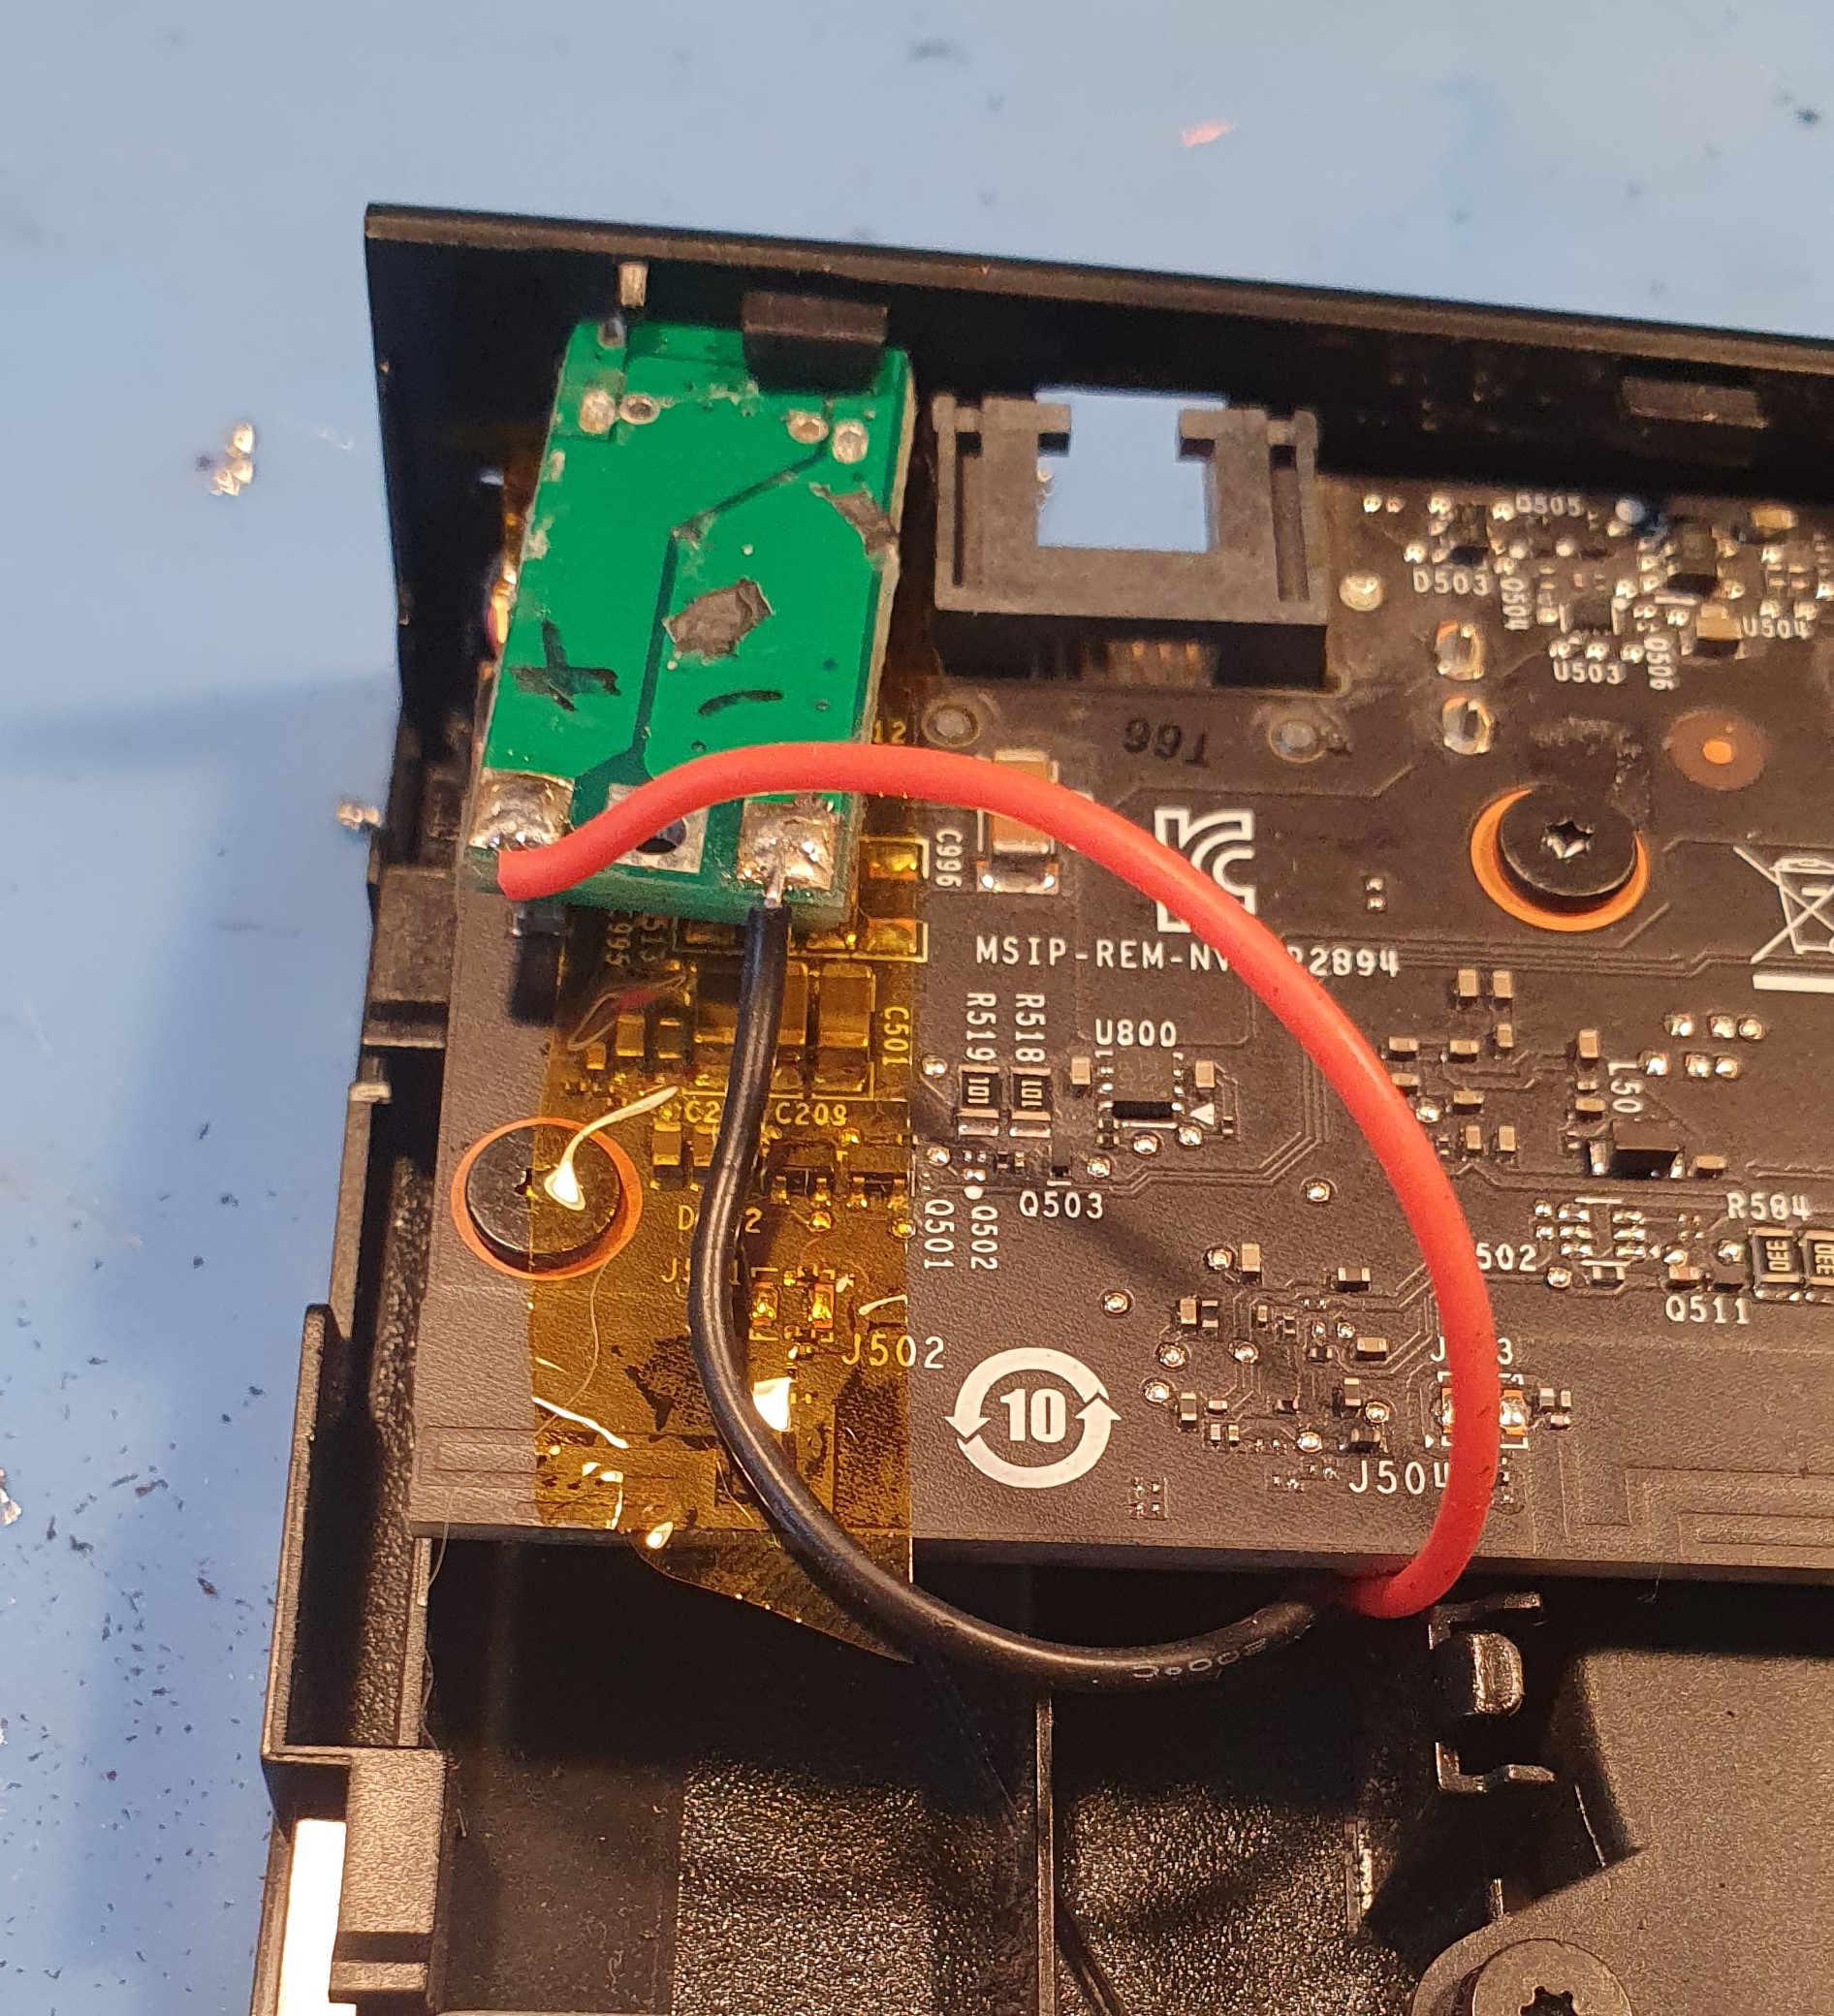
Hot glue to hold my adaptation in place:

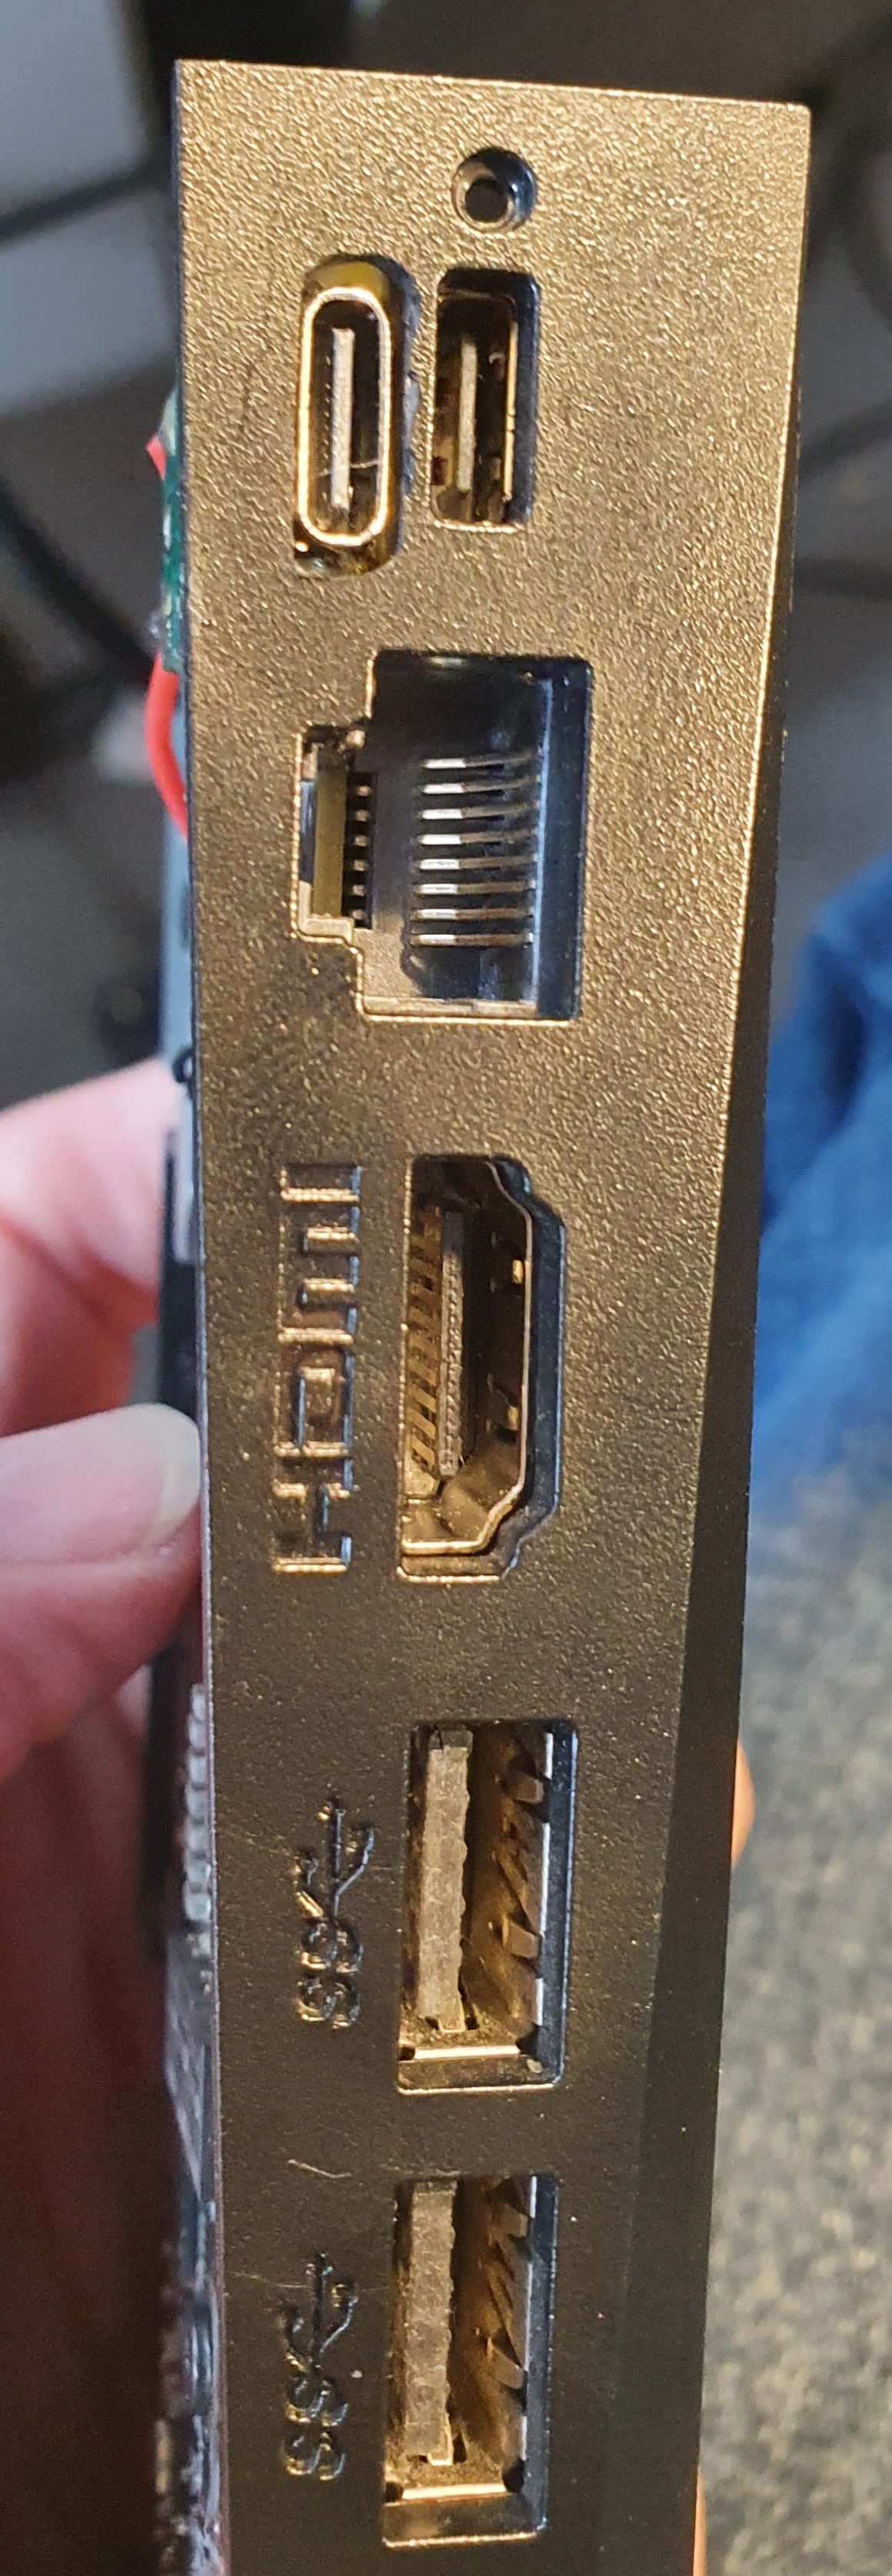
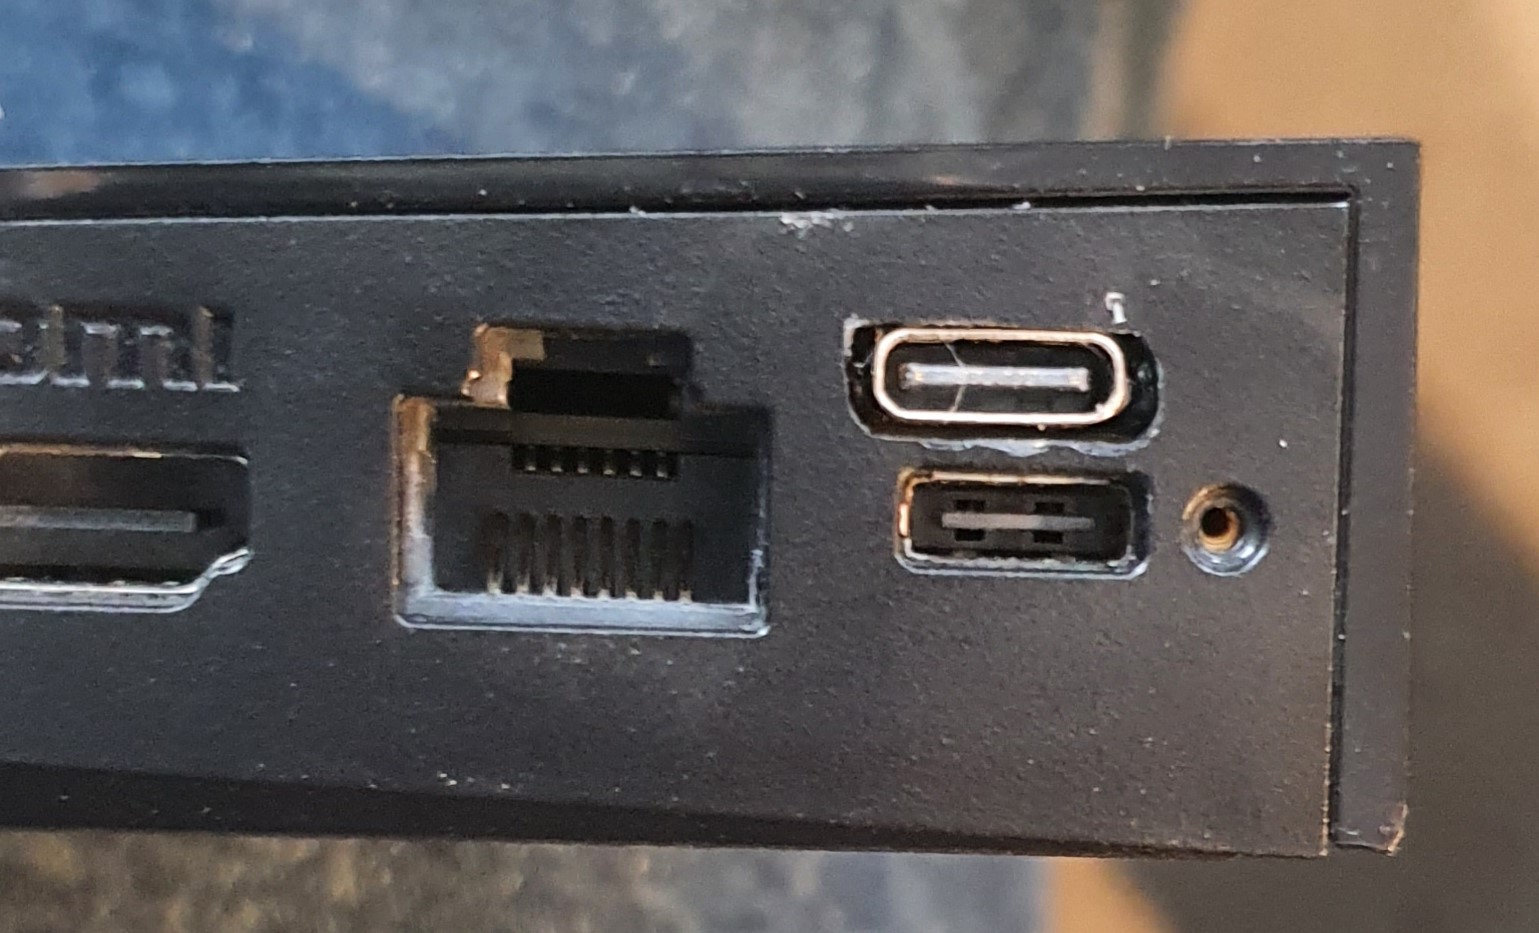
The Type C hole was filled a little bigger than necessary but it’s tidy enough for me to share picture of. I’ll never use the original power and Type C at the same time so putting the two ports this close prevents me accidentally plugging both in at once.
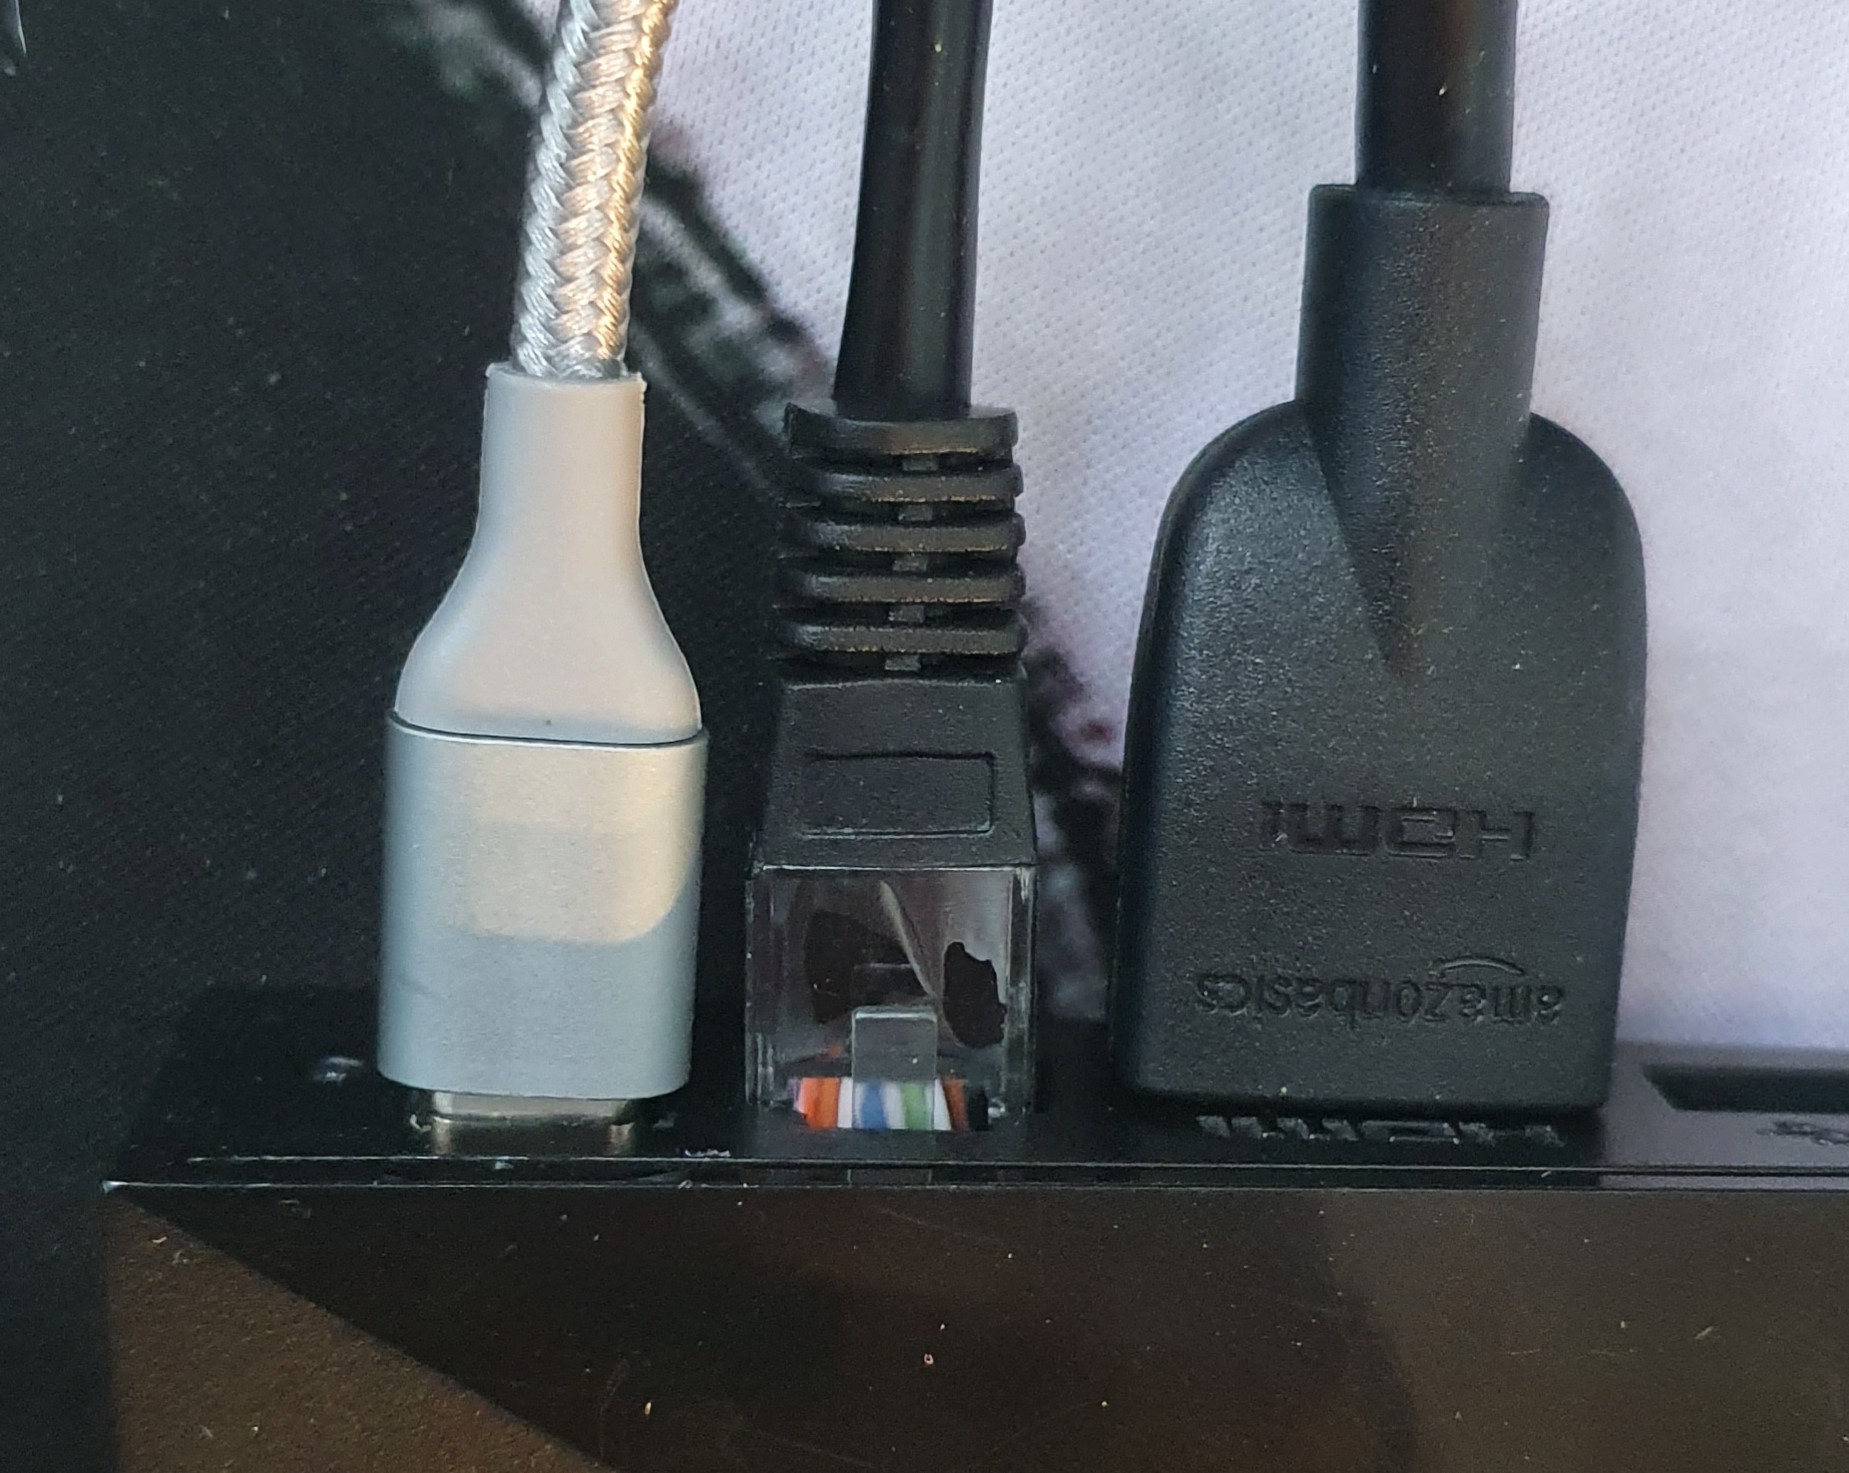
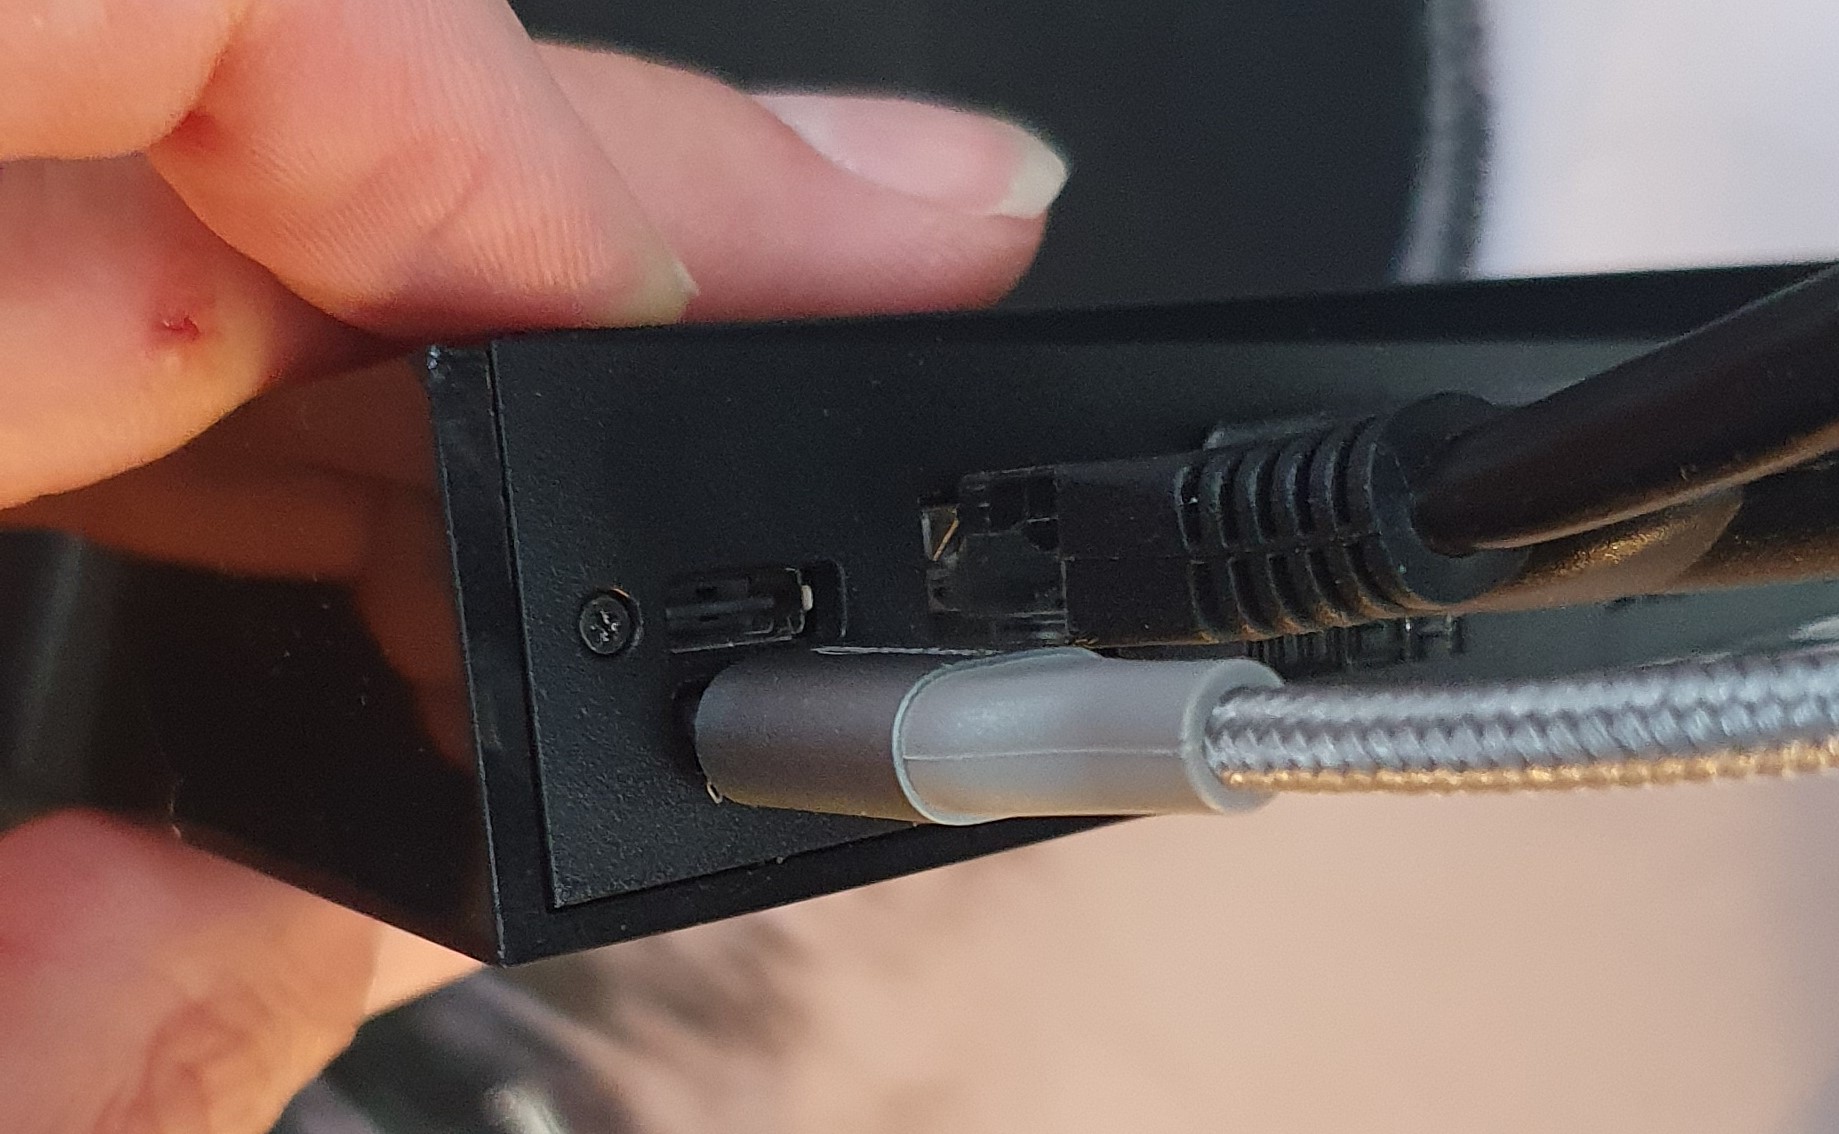
12V power.
Running this in the camper is now just a simple case of using a cigarette lighter socket to USB C PD charger. These are easy to get on Amazon. I have these to charge my laptop/phone and tablet in the camper already so I didn’t need to buy anything else to get this running.
https://www.amazon.co.uk/gp/product/B077ZRBPNB/ref=ppx_yo_dt_b_search_asin_title?ie=UTF8&psc=1
or
https://www.amazon.co.uk/gp/product/B07H4M4N5V/ref=ppx_yo_dt_b_search_asin_title?ie=UTF8&psc=1
The other benefit of this adaptation is I can now leave the original power adapter at home when I travel and just run the shield on Type C chargers I already take on holiday.
Final Thoughts.
1) Nvidia - Please make the next revision of the Nvidia Shield Type C powered.
2) Would I do this again? - Probably not. Since I did this modification the 2020 Google TV (Sabrina) came out. This is 5V Type C powered. Users only 6 Watts and streams media nearly as well as the Nvidia Shield TV. It lacks the USB ports but they can be added with a Type C hub. They are also much cheaper than the shield.